HERES ANOTHER INSTALLMENT OF A STRIP GUIDE WITH PICTURES
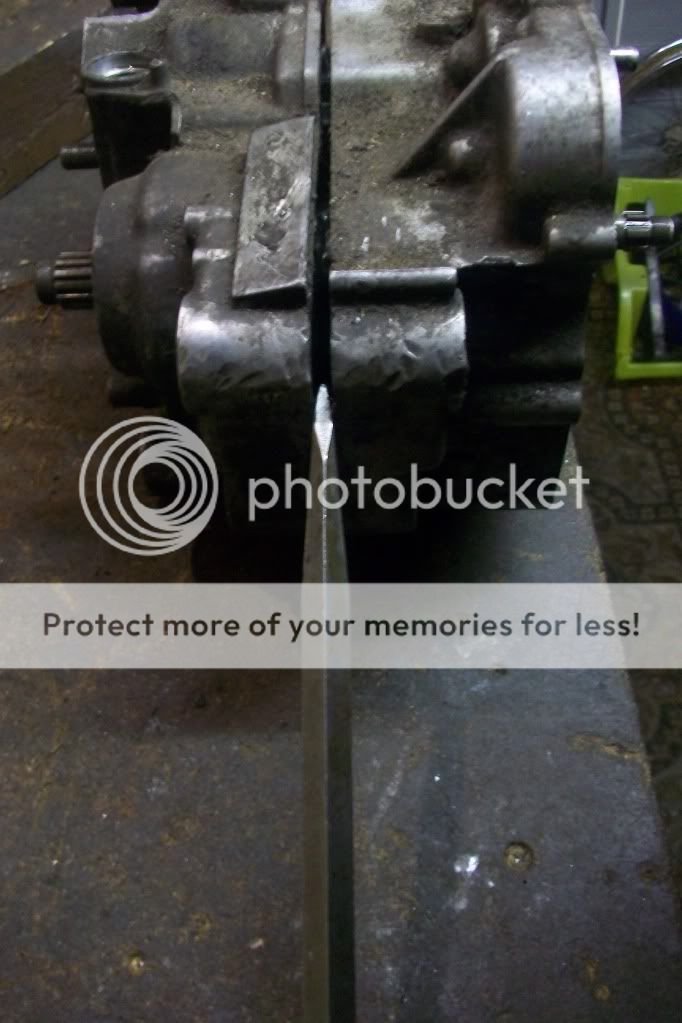
SO STARTING WITH A DTR BOTTOM END.... from the right hand side
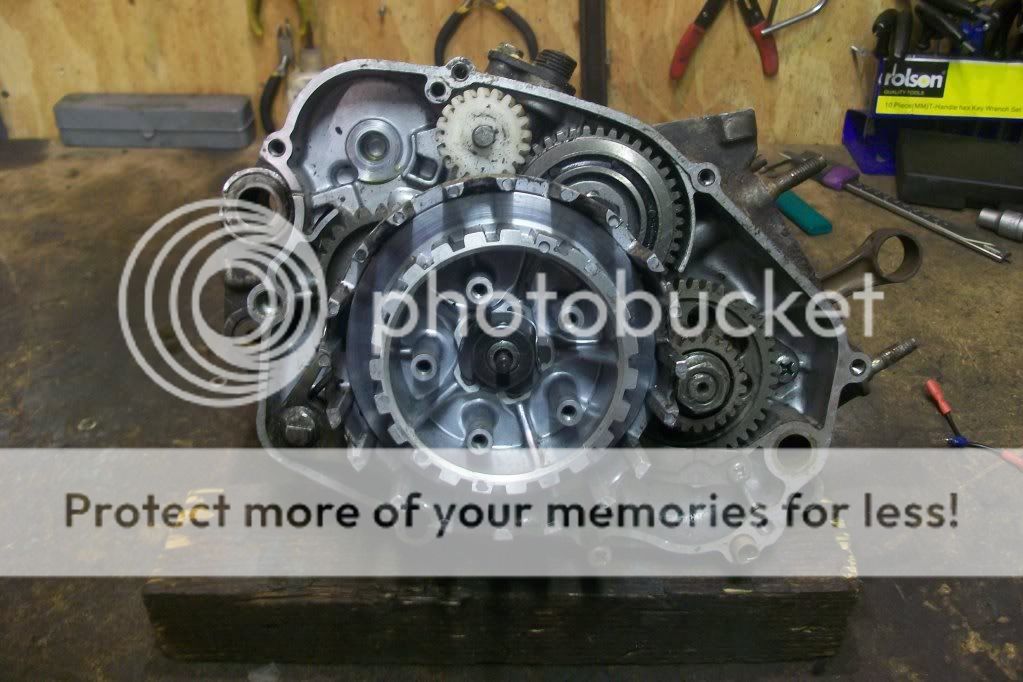
the top end,oil & coolant all removed & drained and the clutch outer casing has been removed which is not brain surgery and if you cant figure that bit out take the engine to some one who can lol...
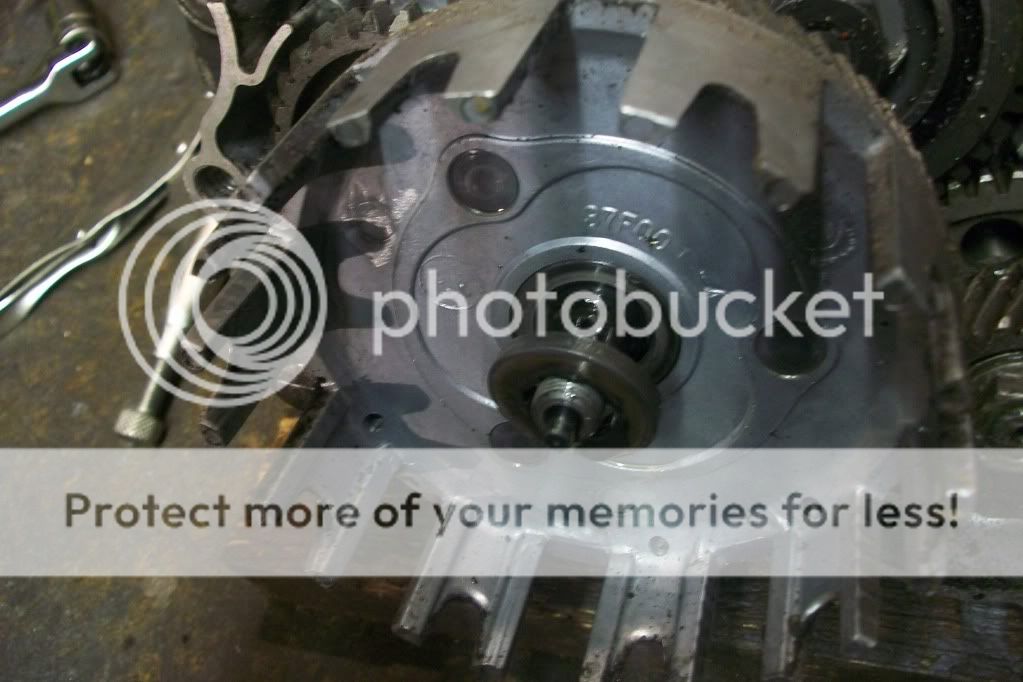
as you can see the clutch plates and pressure plate has been removed by just undoing the 5 mall bolts holding the springs in, just undo them in an opposite manner, no need to undo the nut in the centre of the pressure plate, that will just complecate things and done need to be toutched unless adjusting the clutch
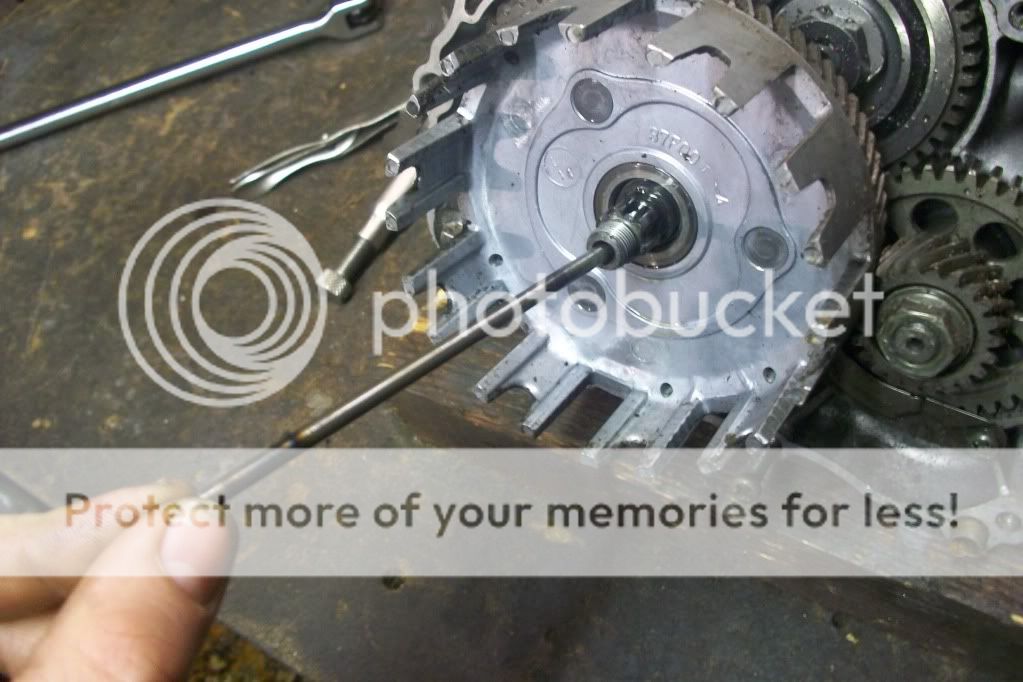
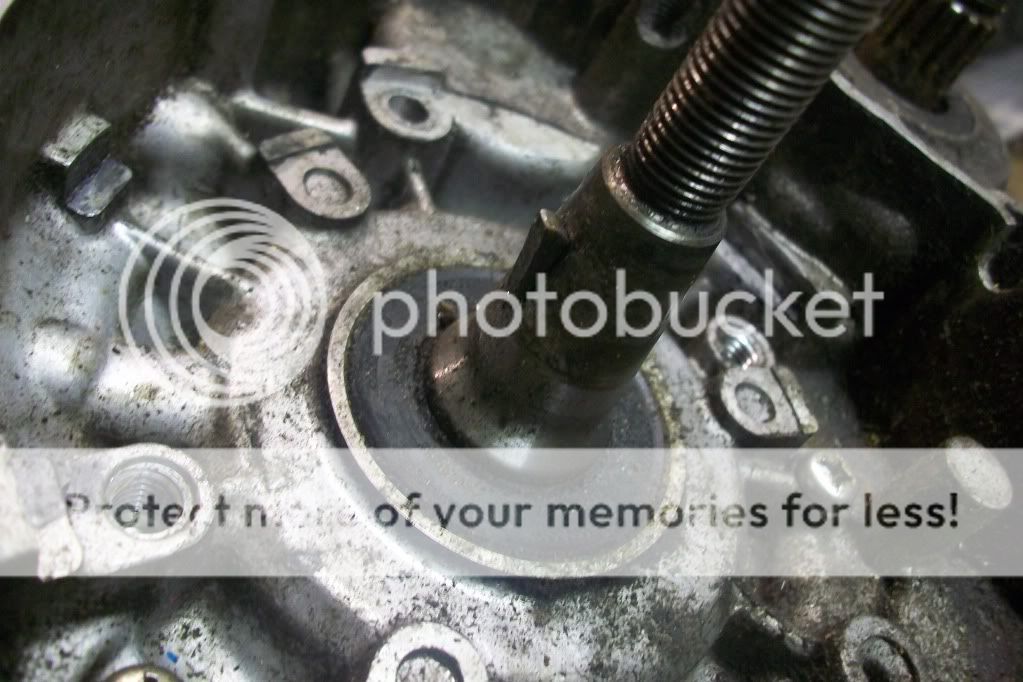
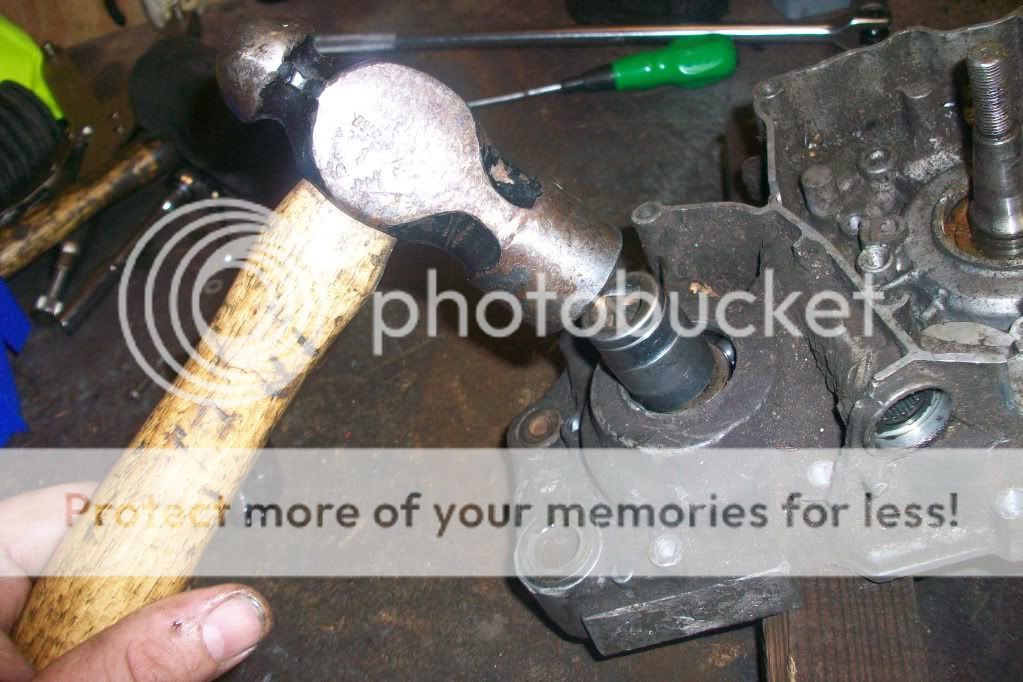
as you can see theres a tab washer holding the centre nut, this needs to be knocked down flat with a flat tool
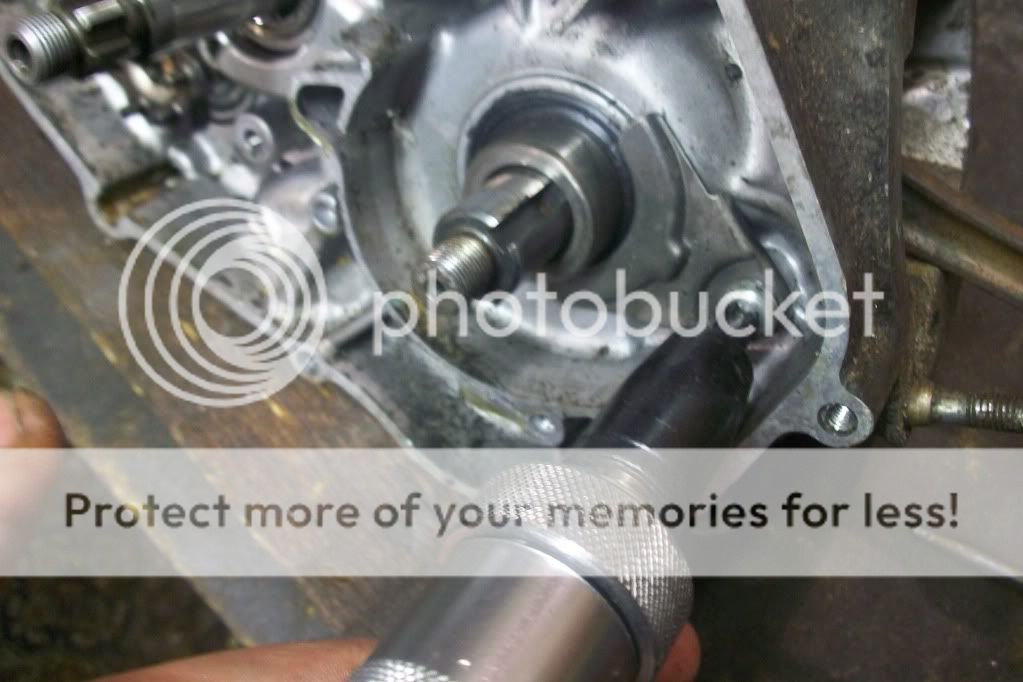
then you can use a clutch hub holding tool ava on ebay 20 quid, best money you can spend
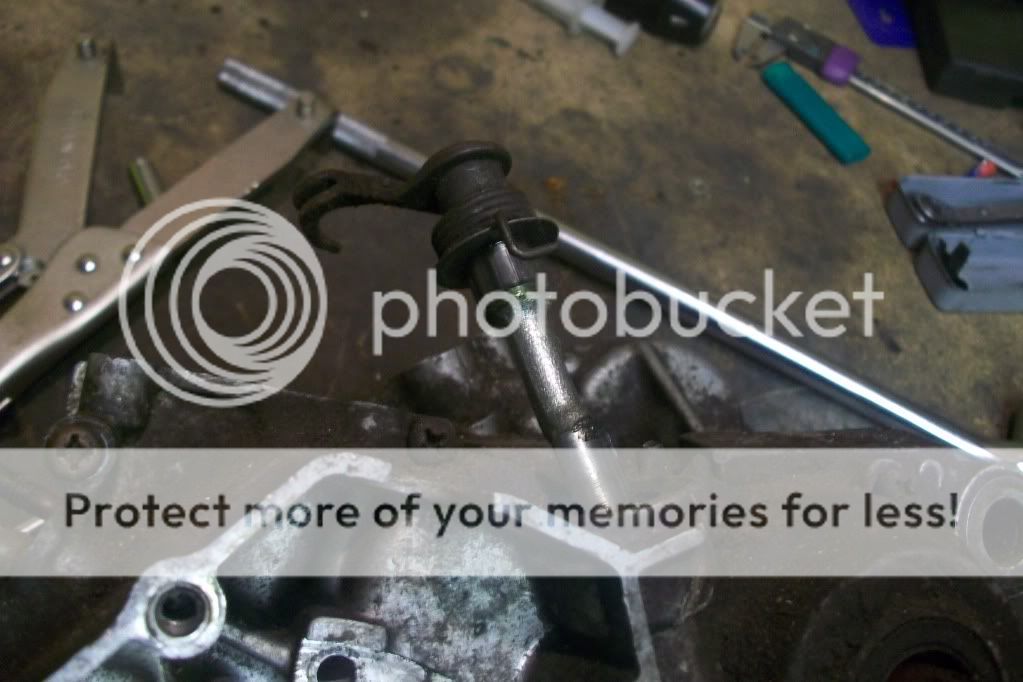
then remove the nut & washer & theres 2 push rods and a small ball bearing inside the main shaft, can use a magnet or tip the engine over just dont loose any
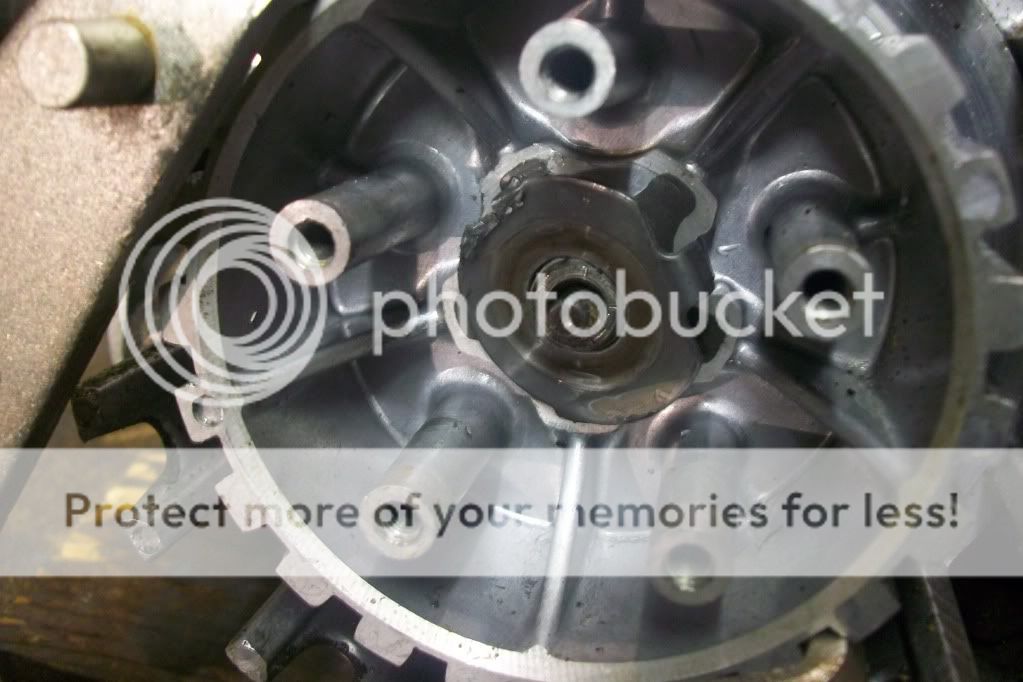
then the clutch hub can be pulled off and the thick washer behind it
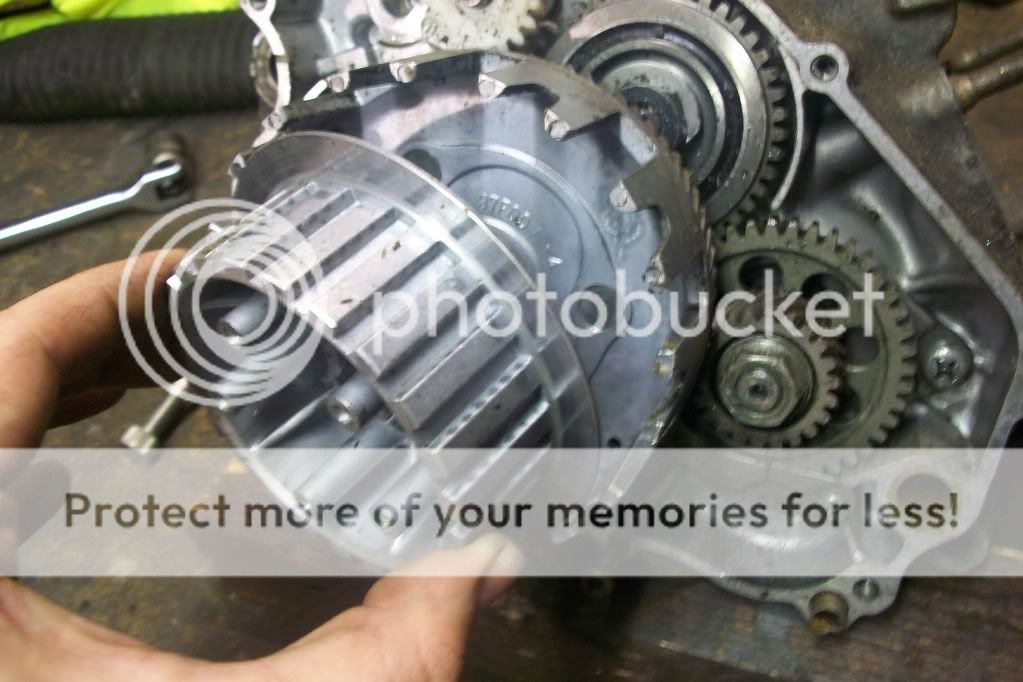
then the clutch basket can be pulled , make sure the 2 washers come off with it and dont stick to the bearing in the engine
one is a dished washer take note of how its fitted !!!!
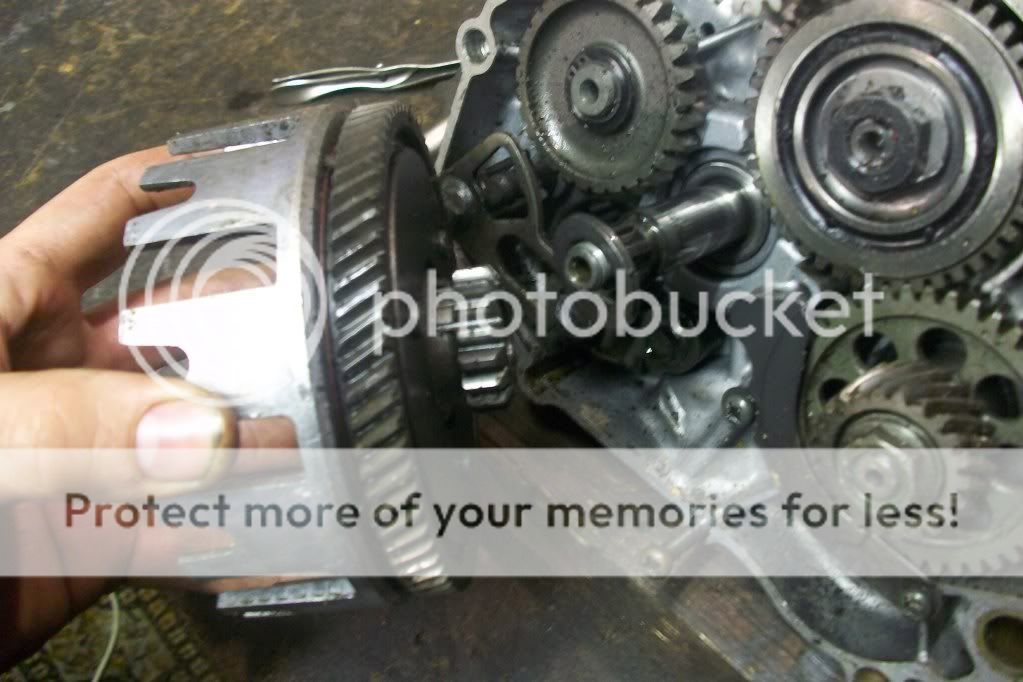
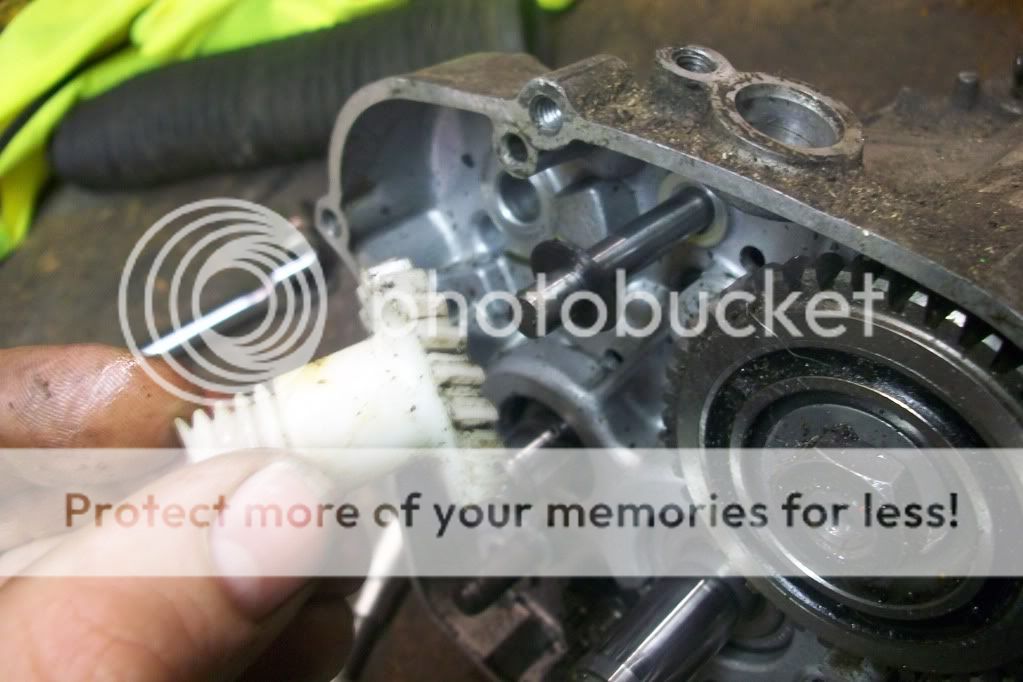
next for the primary drive gear & balance shaft gear & kick start idle gear & tacco drive (rev counter)
the kick start gear is held on with a circlip this needs to be removed with apropriate pliers
the tacco drive just puls off be carefull not to loose the small thrust washers one on top and 1 under
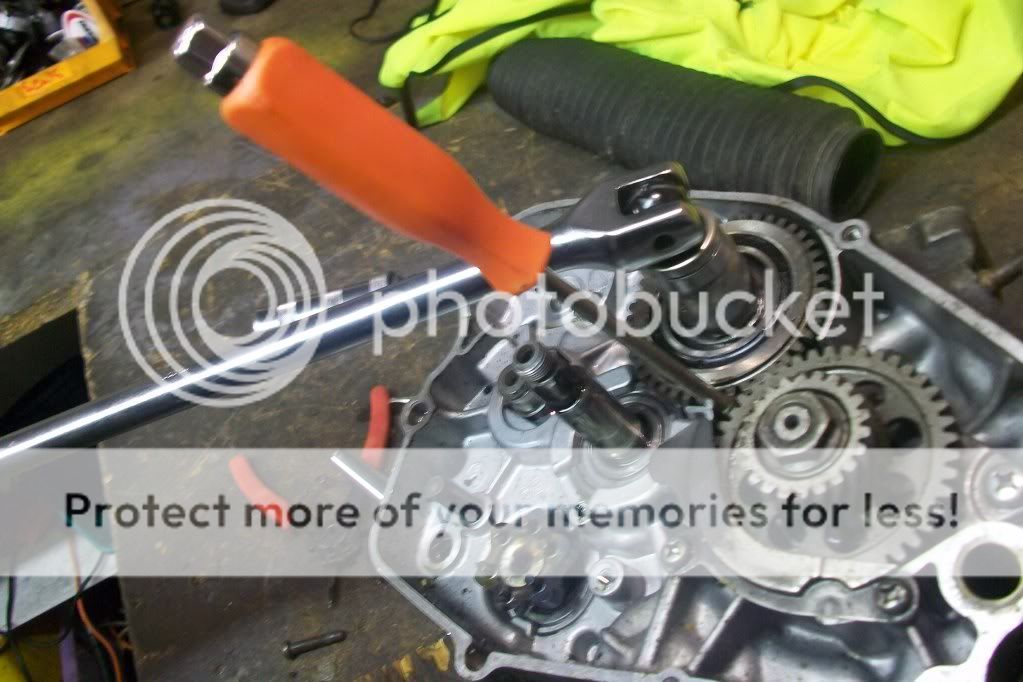
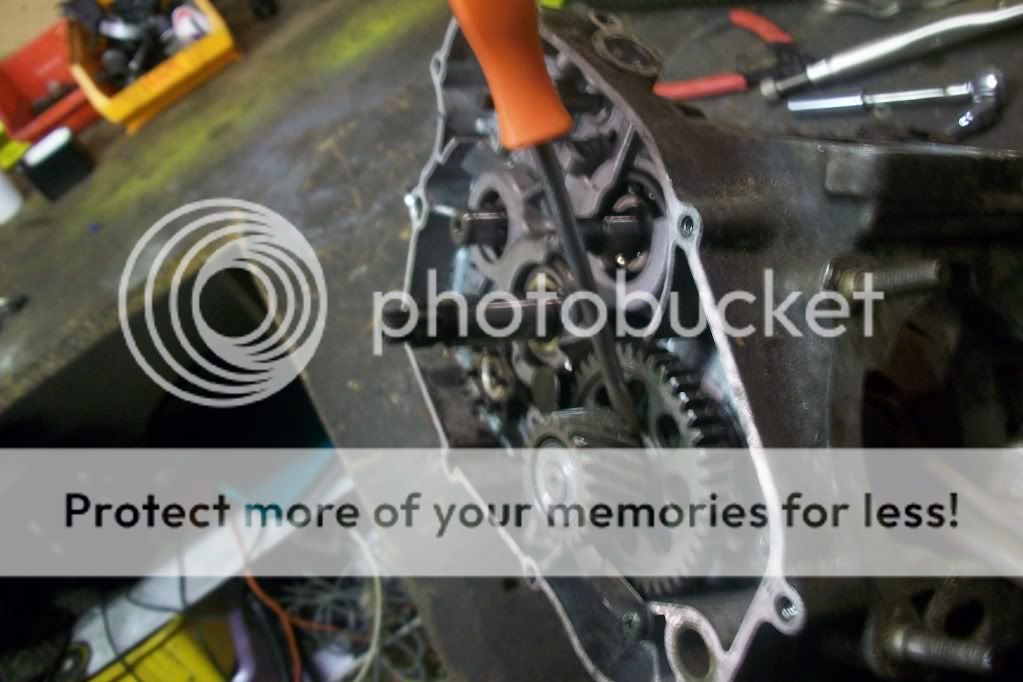
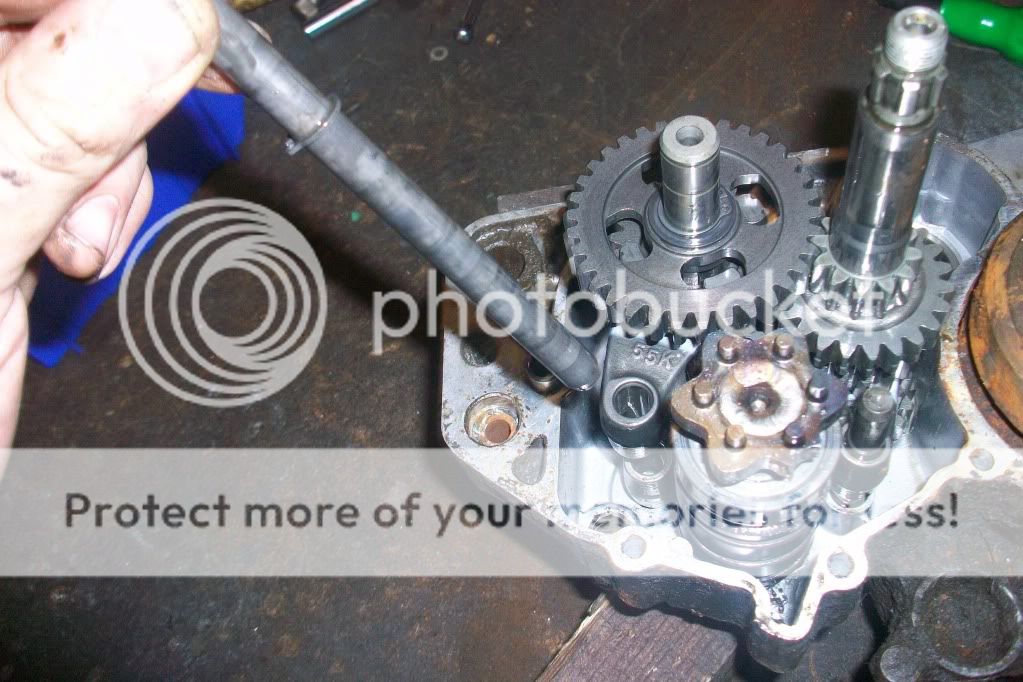
an easy way to lock the gears is like this
you will need to nock the tab flat on the balancer shaft gear nut
undoo both with a big breaker bar or similar
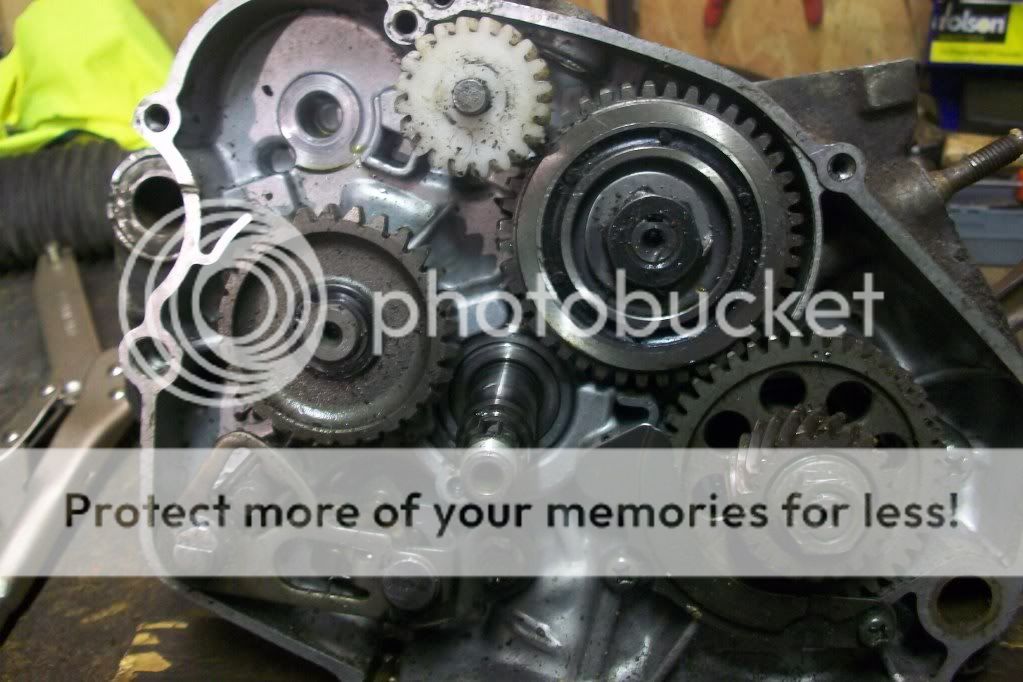
(remember that the primary drive gear and the balancer shaft gears have timing marks that must allign on rebuilding)
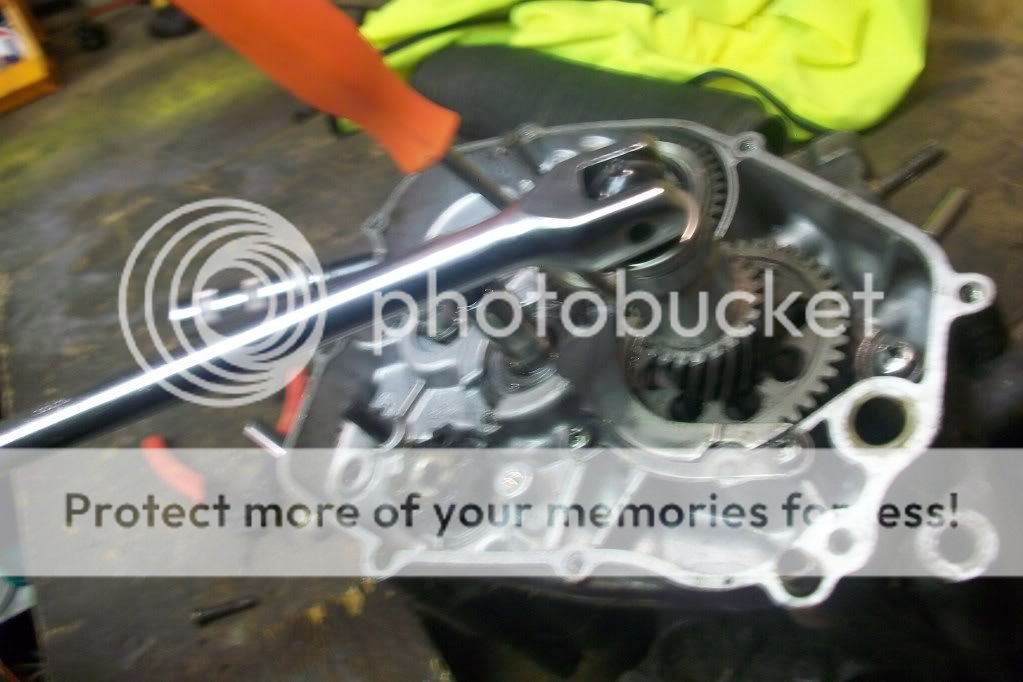
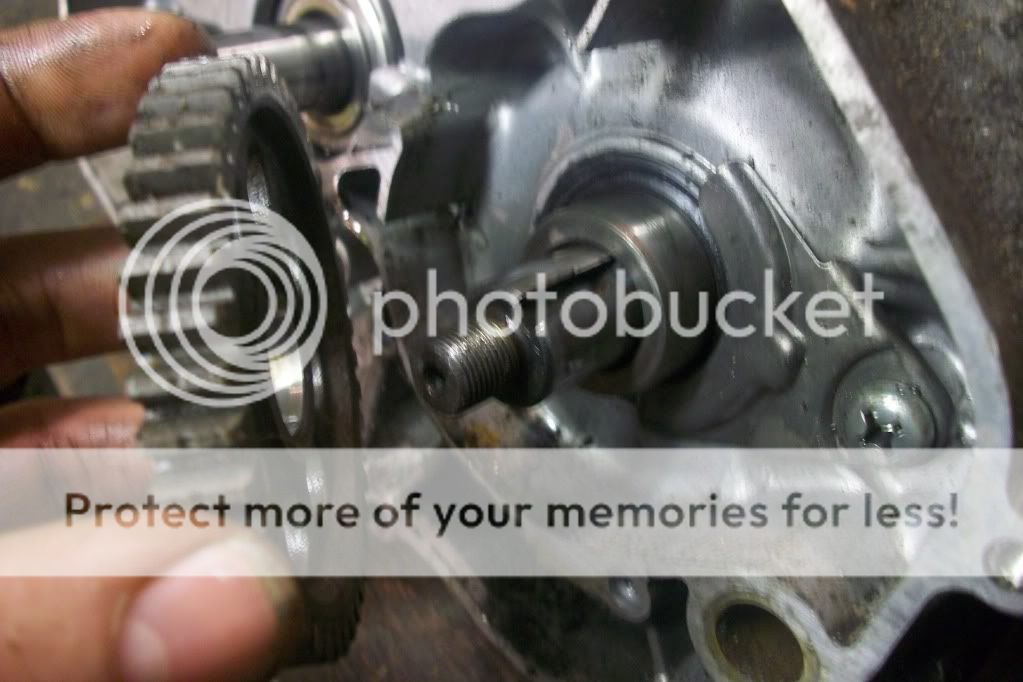
the pri drive gear will need its splash guard removing to get it off use an impact driver as this shows
once loose both of the gears can be levered free
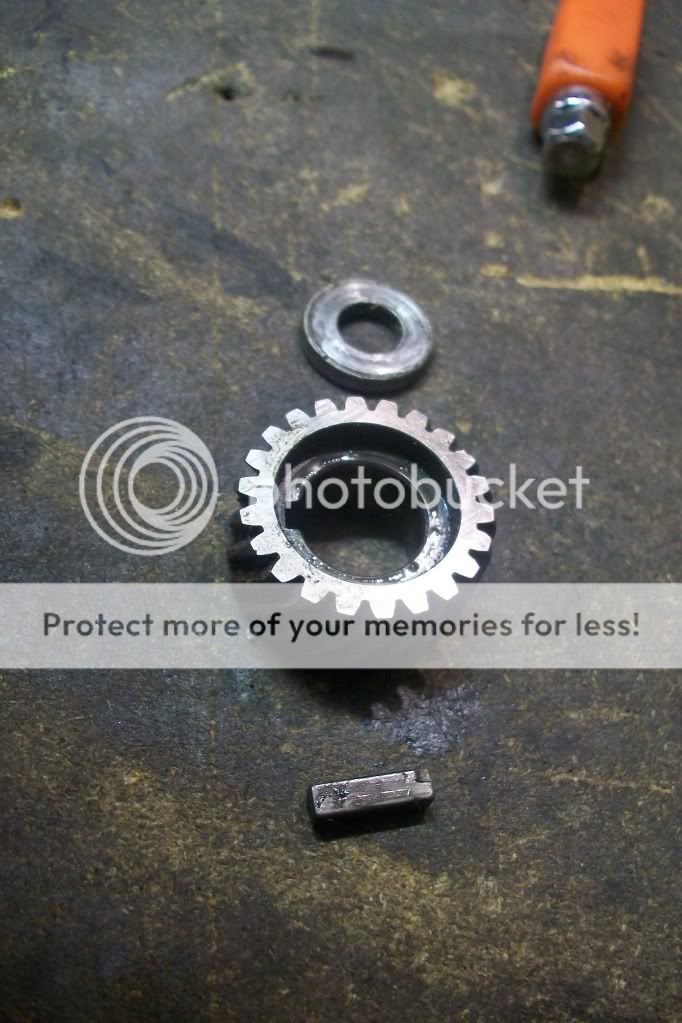
both gears are held on the shaft with rectangle woodruff keys see laid out assembly
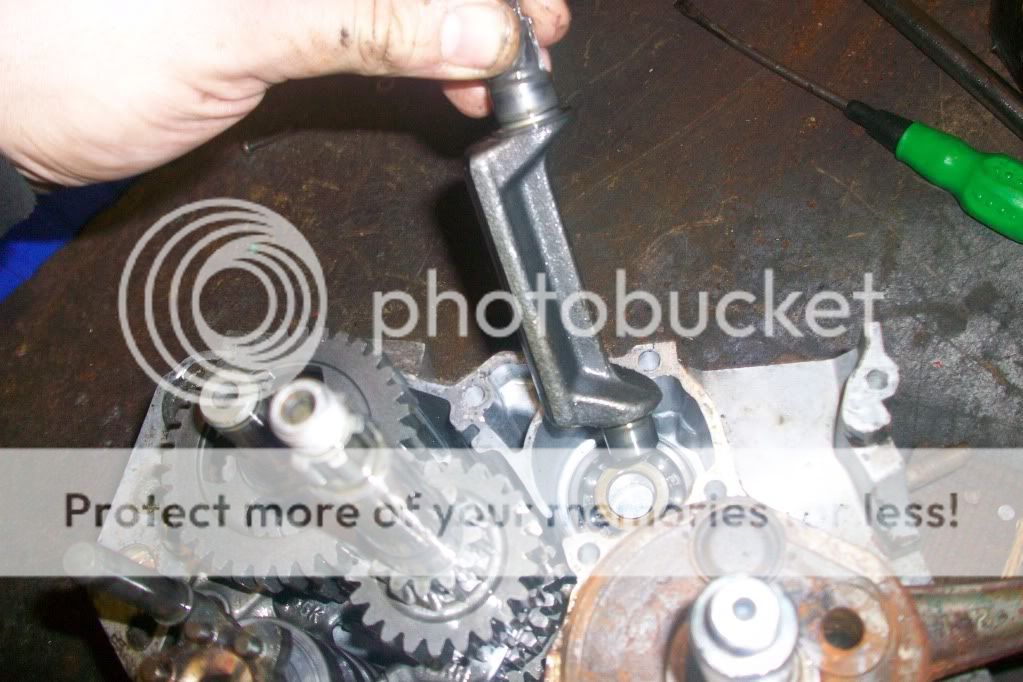
the selector mech/shaft can then be tapped out from the left side this just slides out
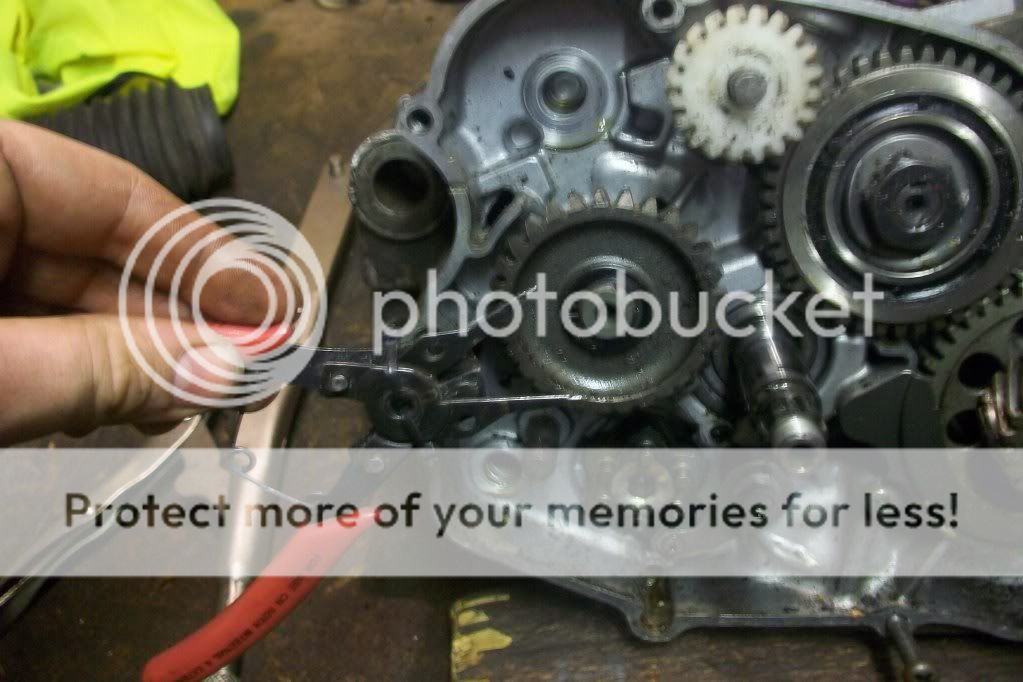
then the detent arm can be removed this can be awkward on re building but gets easier, when re installing this get the spring set right then bolt in abit then u will have to hold it in place with a driver while bolting it down
the star on the end of the selector drum will have to be rotated untill it clears the cases in the cut outs
notice the star has 1 end with no point on it this is neutral !
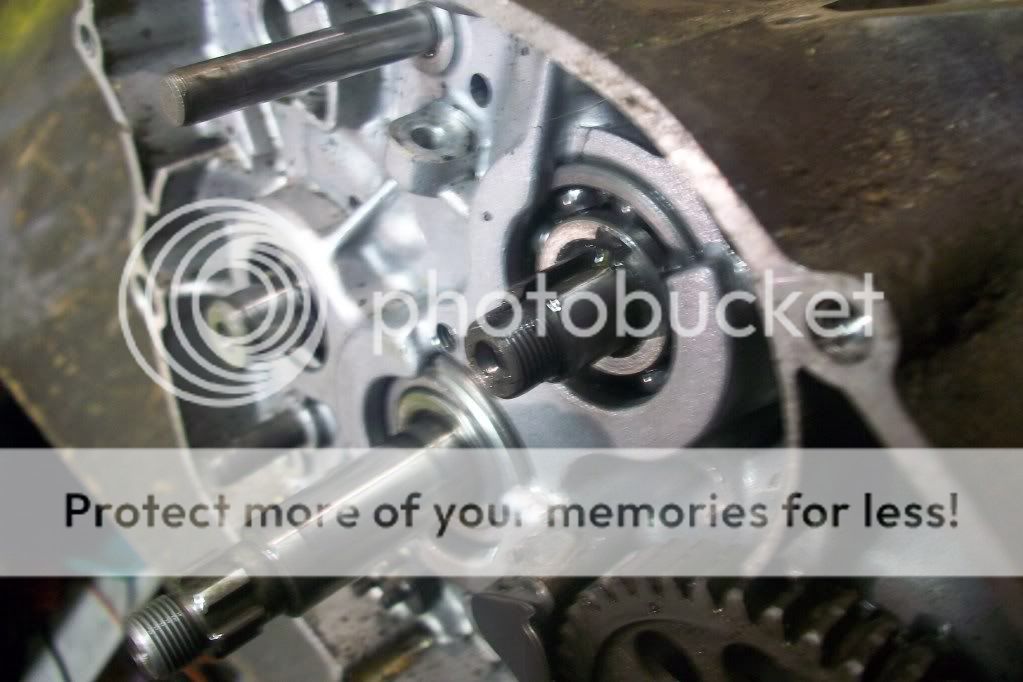
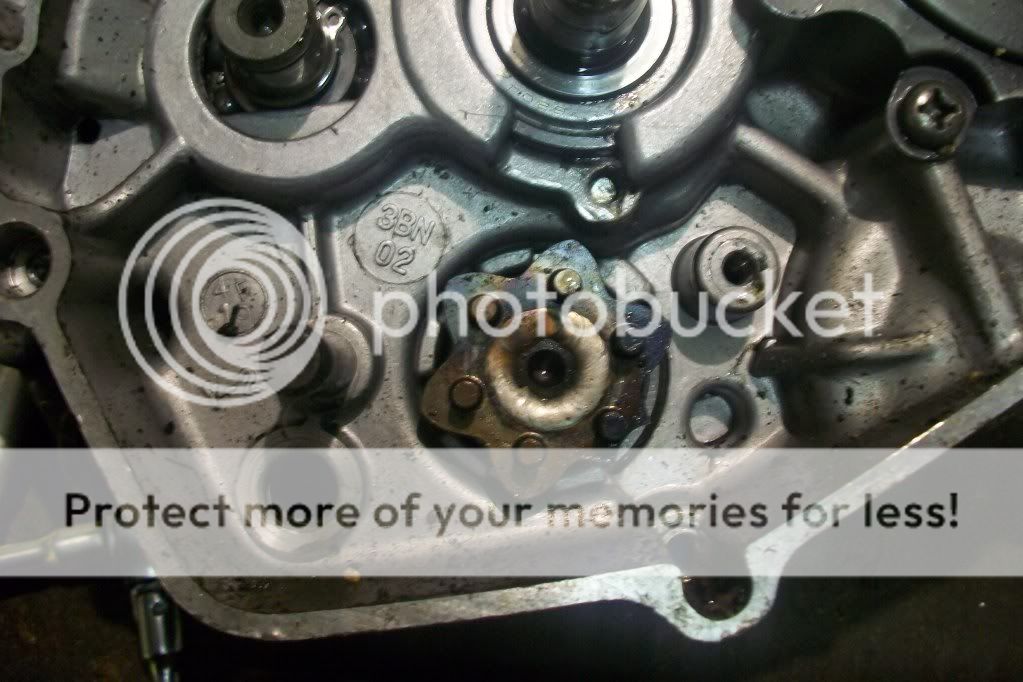
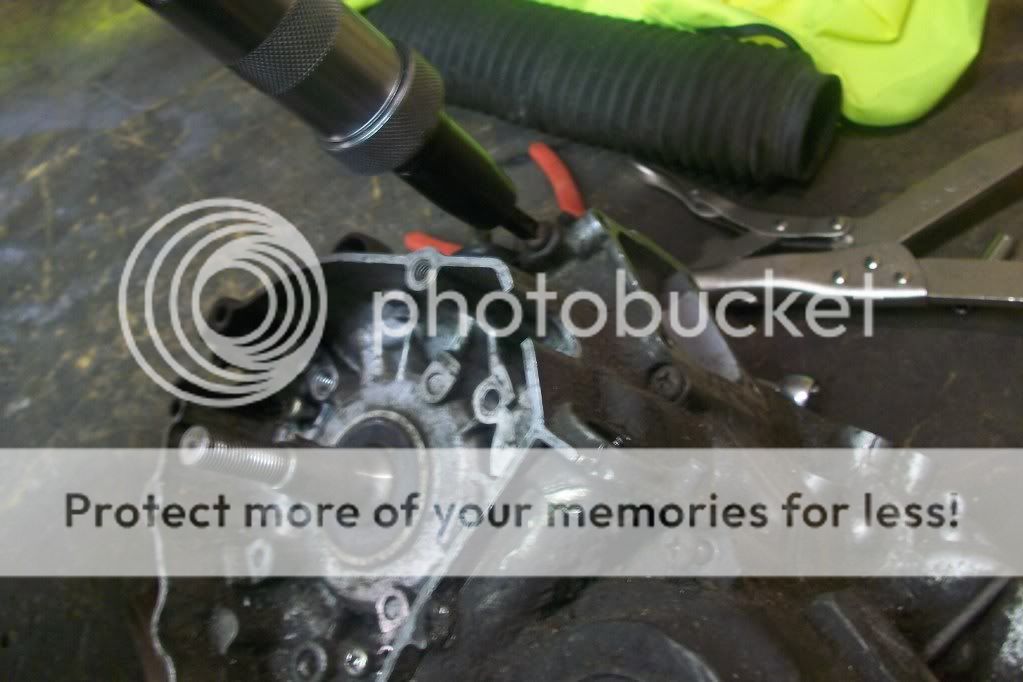
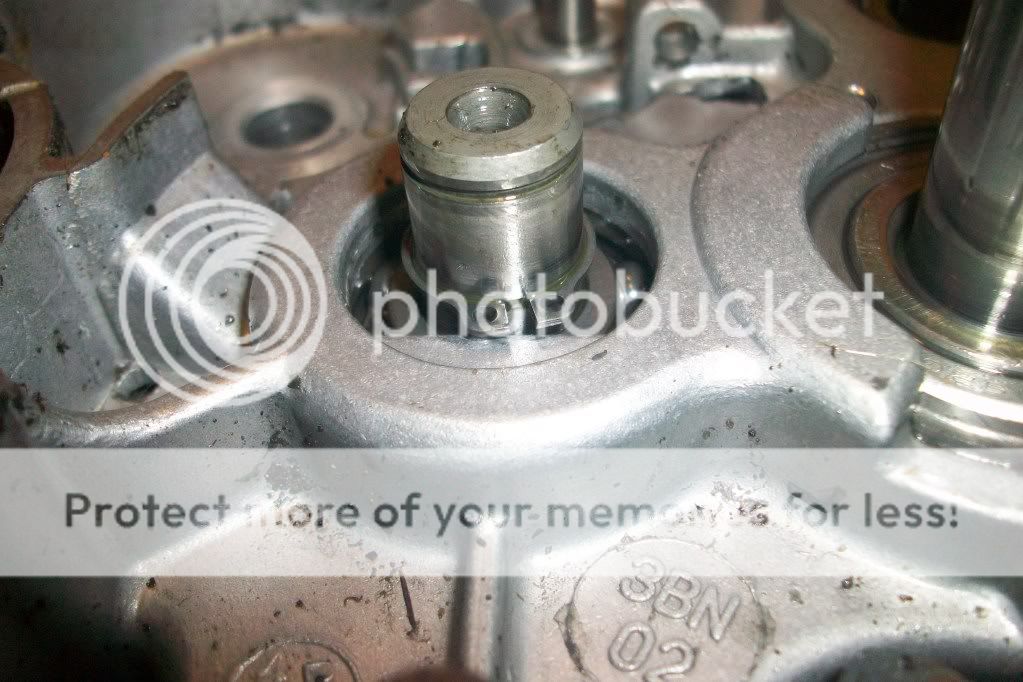
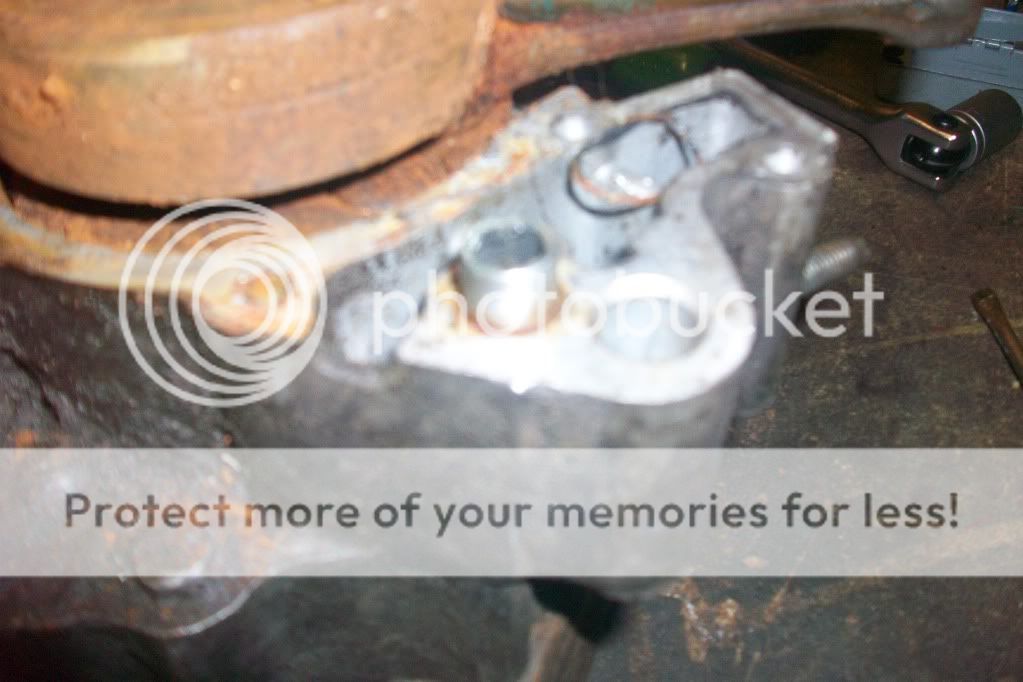
next is the seal retaining plate this is normally well tight and needs an impact driver !
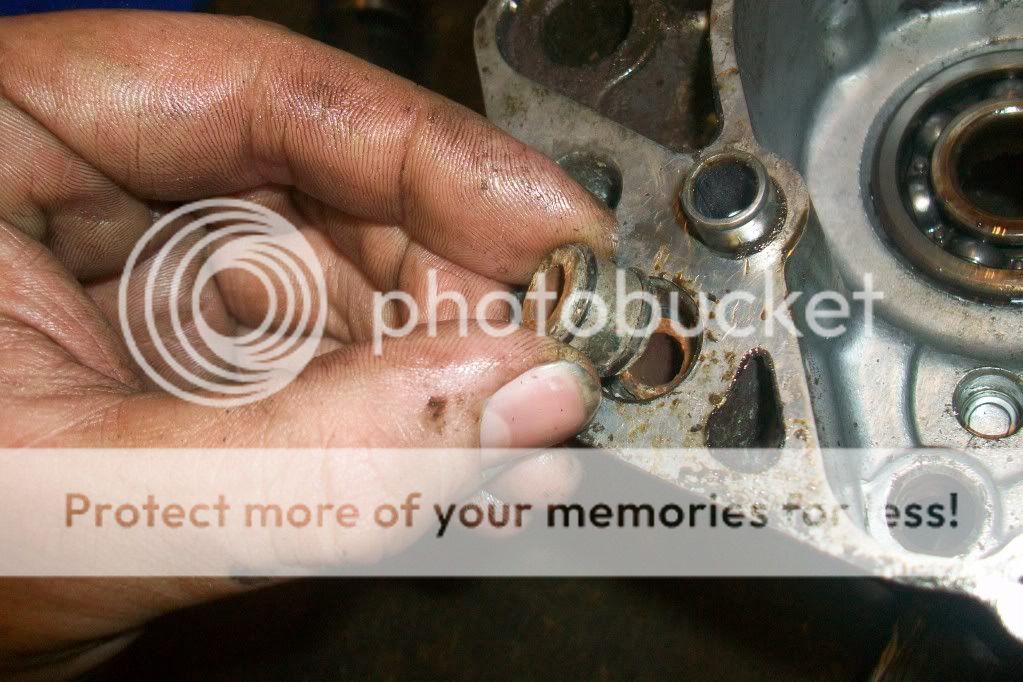
then the crank bush can be pulled out, if this has deep grooves on it from the seal then it will need replacing if its worn both wasy round as it can be reversed if u look at it
this is as far as you need to go if you are just doing the seal !!
and all this can be done in the frame , its alot easier to loosen all the big tight stuf while frame fitted
i have it in the frame loosely while i get to this point makes things loads easier if ur on ur own !!
so with the right side now bare move to the lhs crank seal
this can just be prised out with a sharp tool
clutch arm just pulls out upwards
along with seal
gear shaft seal
drive shaft seal
then locate all the case bolts around the outer case and remove may need impact driver if there ****e oem cross heds
best thing to do is measure all these bolts and replace with ss cap heads...all m6
invest in a cheap leccy drill takes the pain out of undoing all bolts by hand
thers stuff all over utube about case splitting tools ( load of bollox never used one on any engine b4, just a money spinner to try and get you to spend money on factory tools
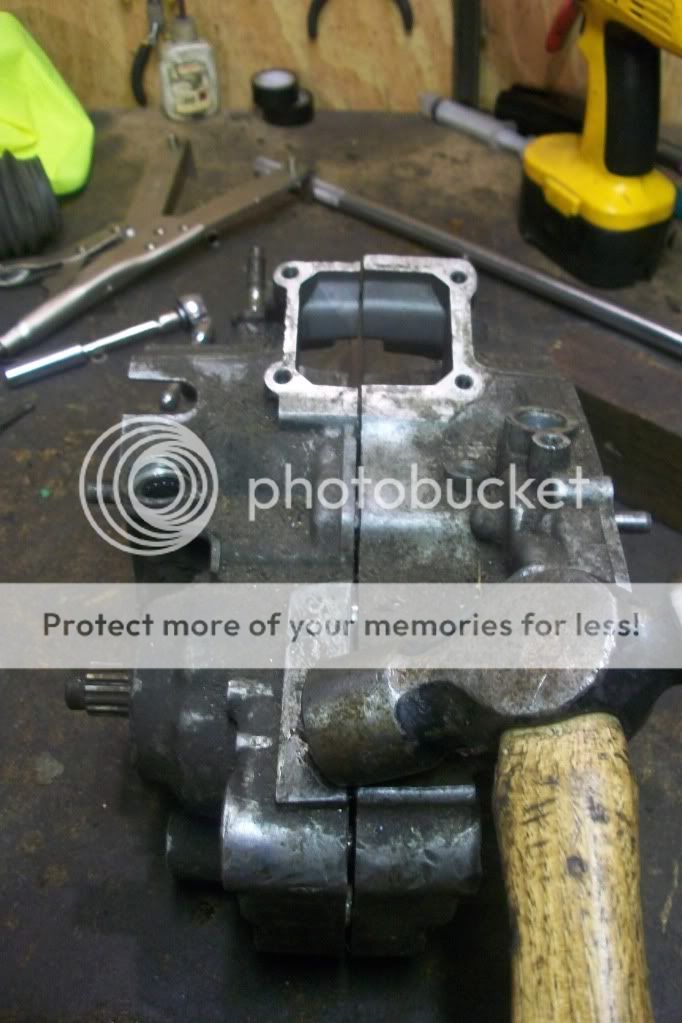
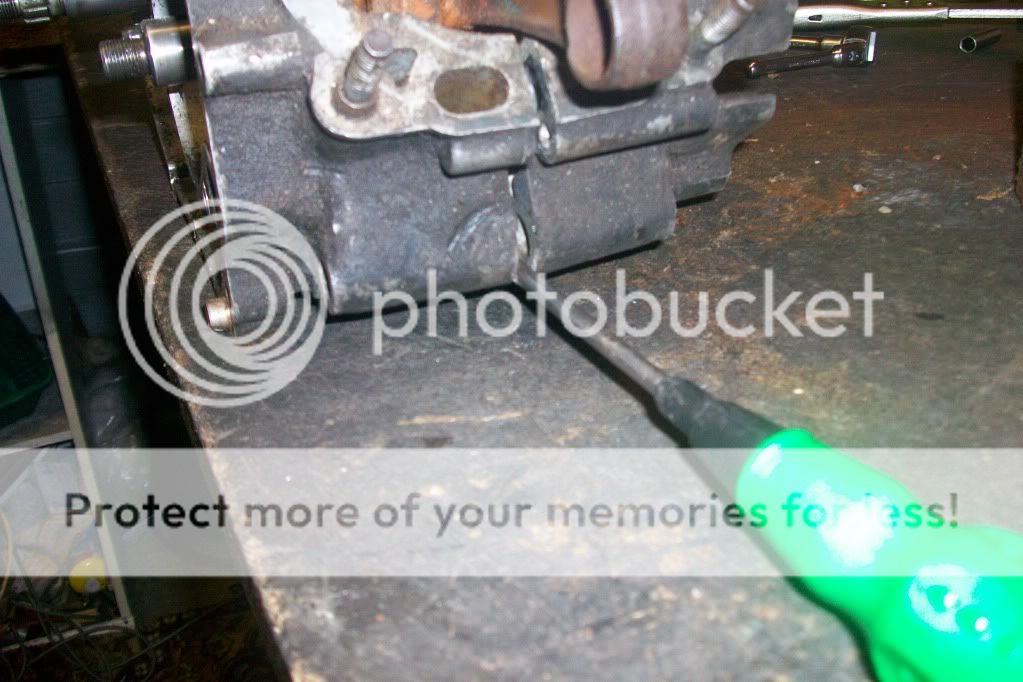
give the cases a tap around the joints with a decent wakkin stick
then get 2 decent flat blade drivers and pry the cases apart from the front and rear
only insert the tools in the area shown as these are not needed as sealing surfaces do not go deep inside the cases as you will scour/gouge the sealing joints
then work around the shafts tapping them with a decent rubber/plastic mallet
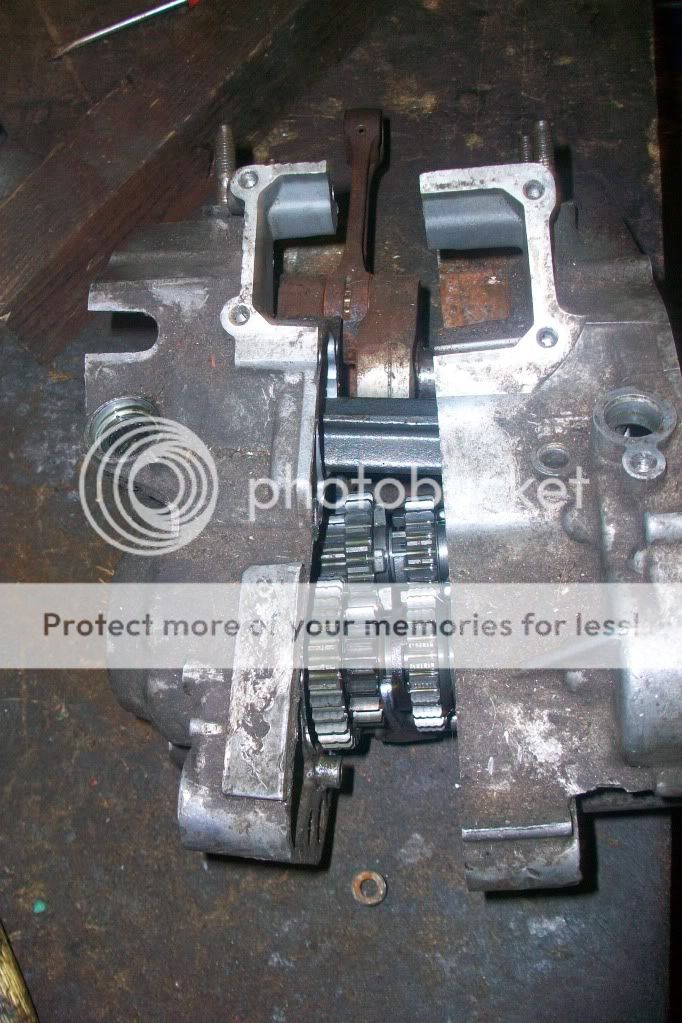
untill ur to this stage
then sit the engine doen on some chocks of wood on the left hand side(magnito) side
and go back the the kick start idle gear shaft and remove the back circlip
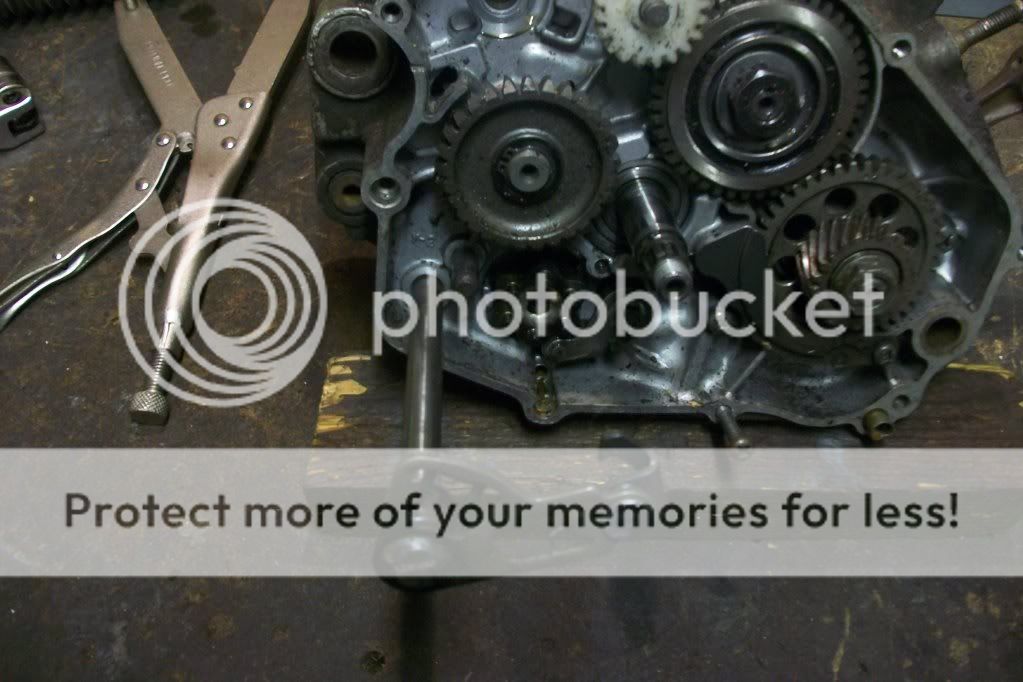
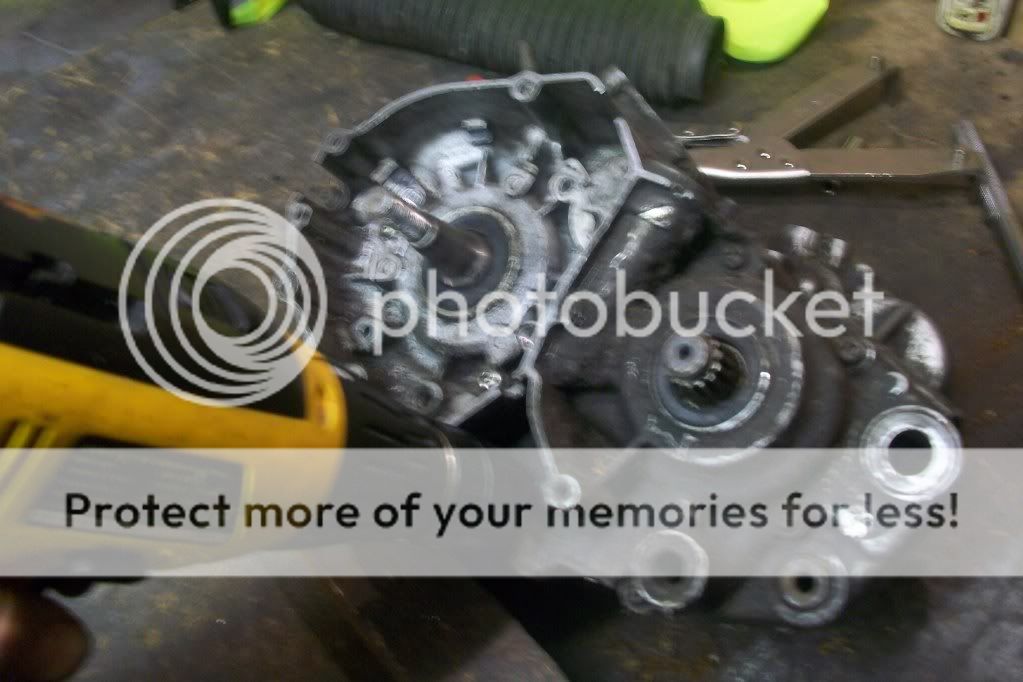
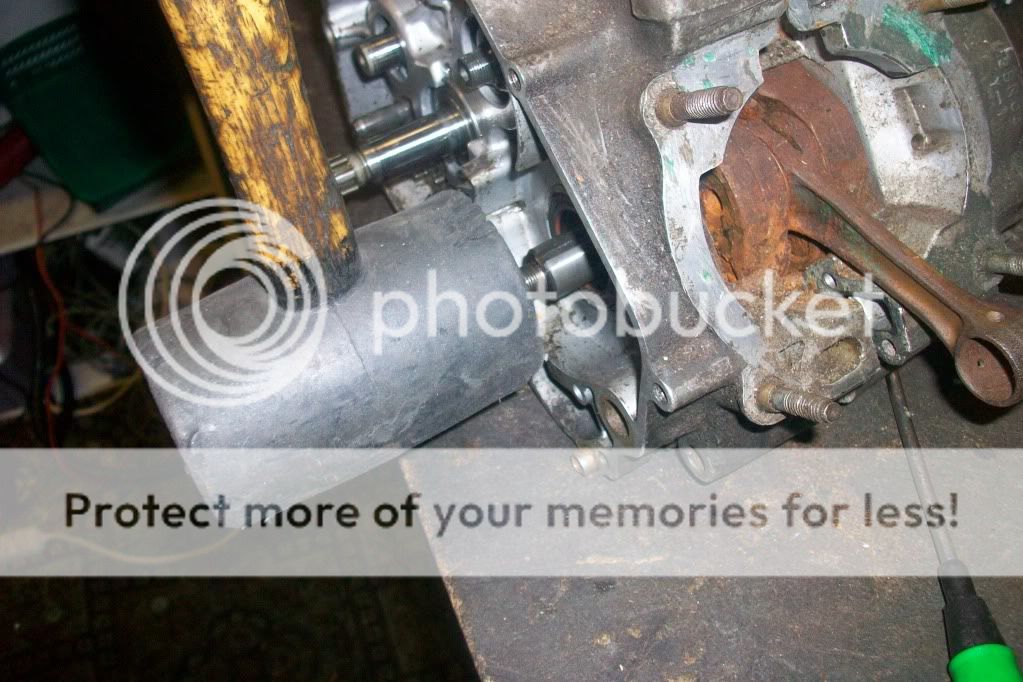
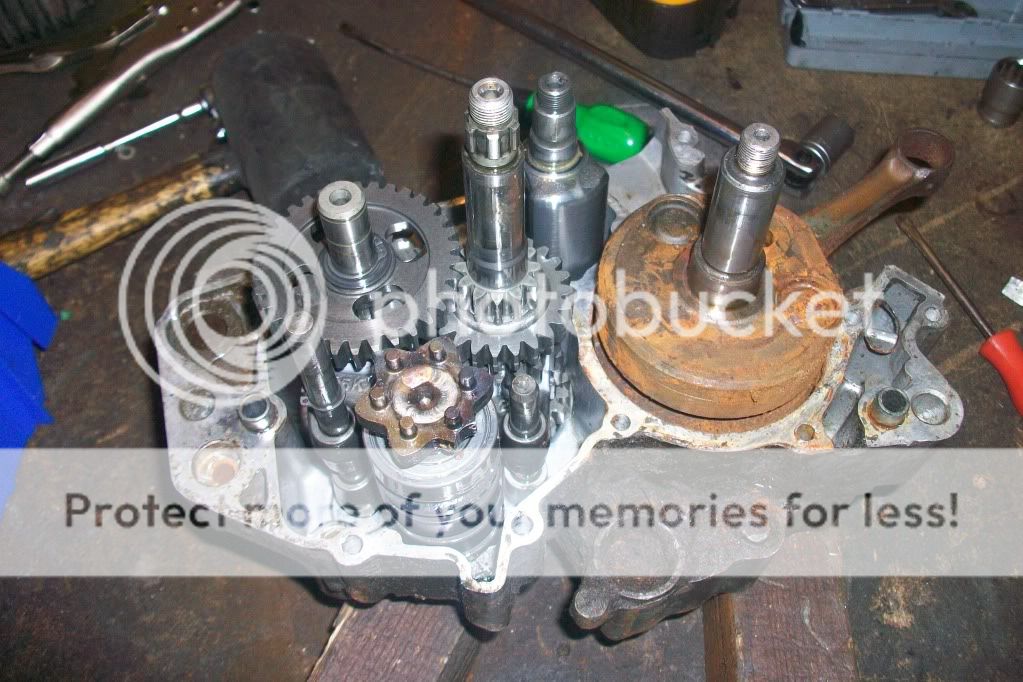
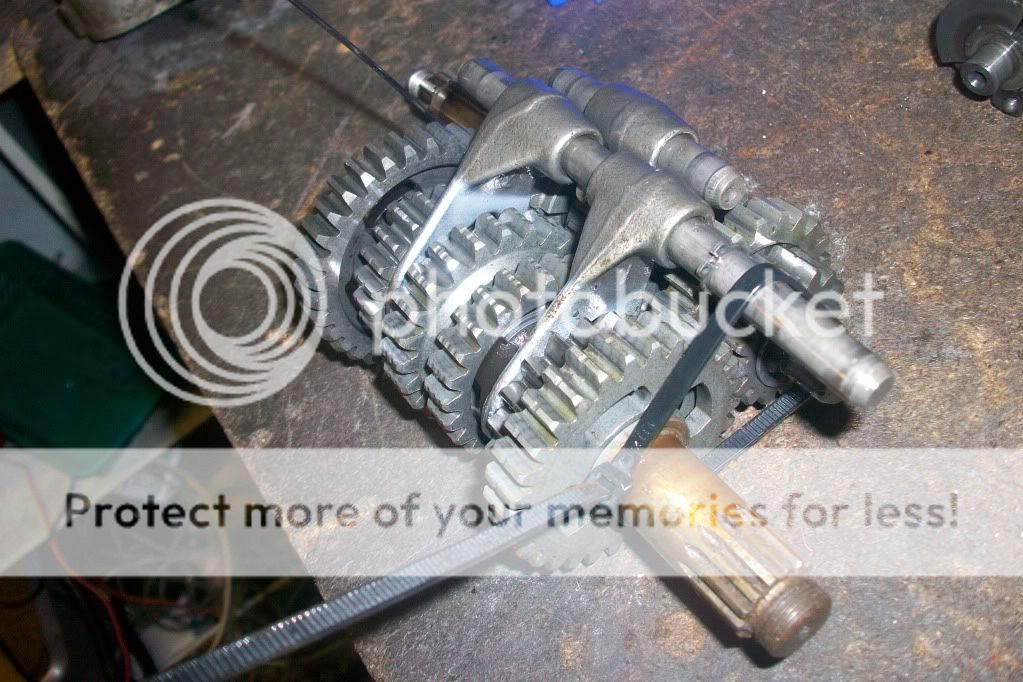
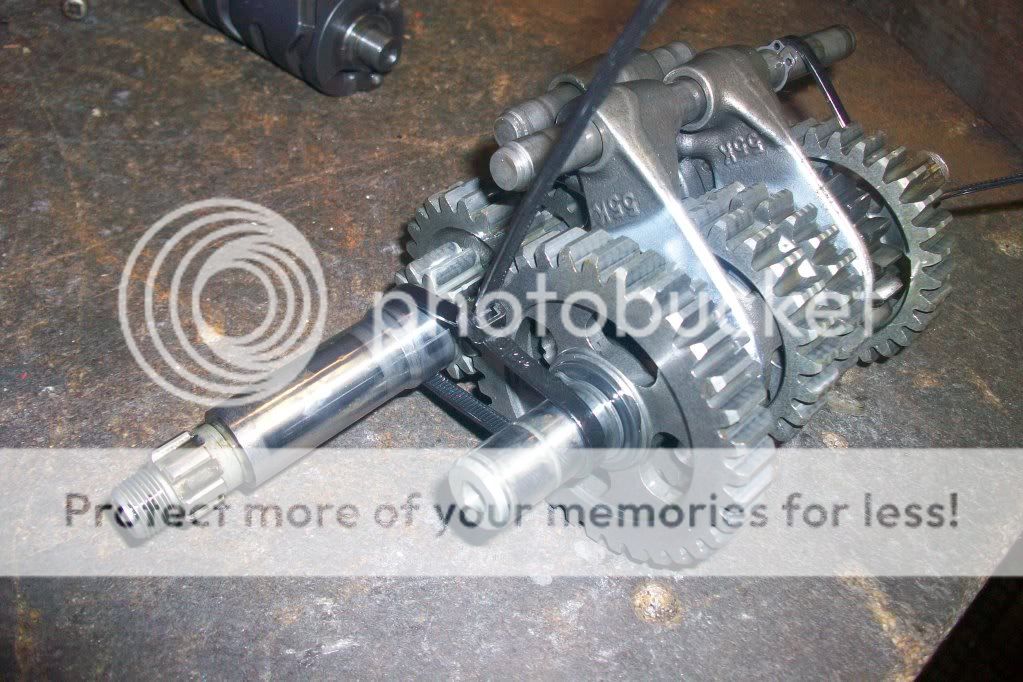
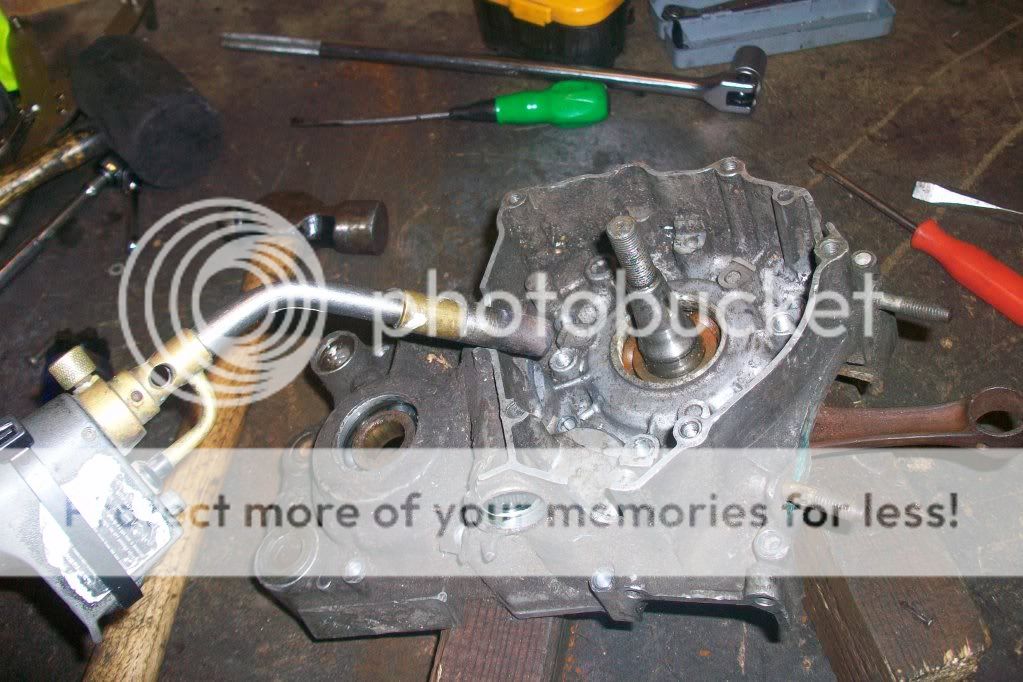
then the rhs crank case can be lifted away revealing the crank & gear box
the balance shaft can then be pulled free
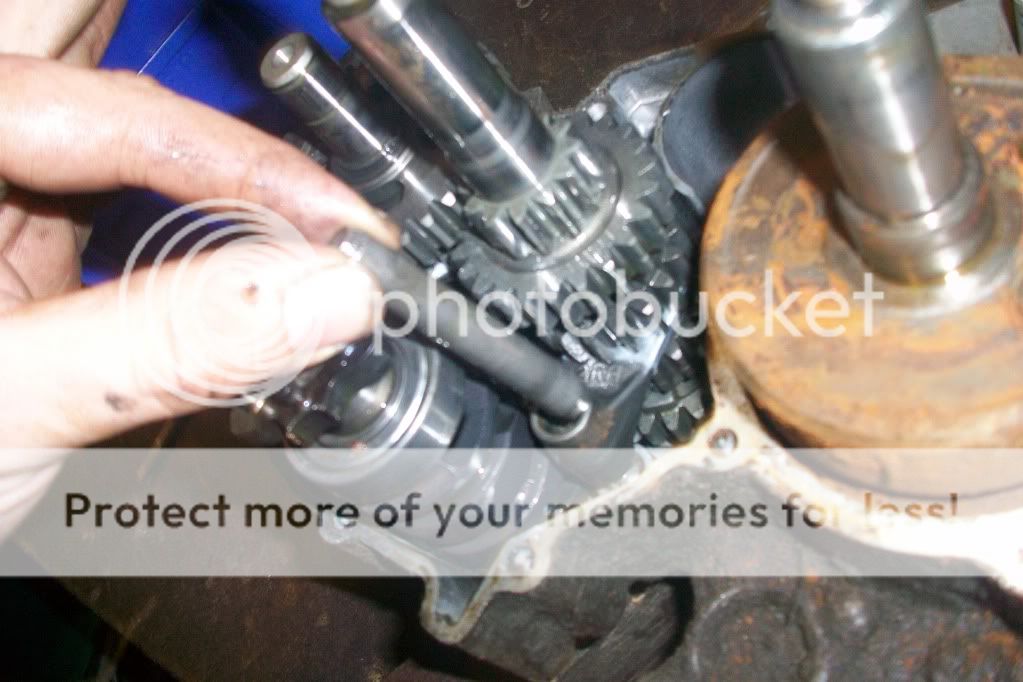
then you will see 2 shafts the gear selector forks sit on these can be pulled out
then the selector drum, take a note or photos of its position it can only really go in one way but will help you if you have not done it b4
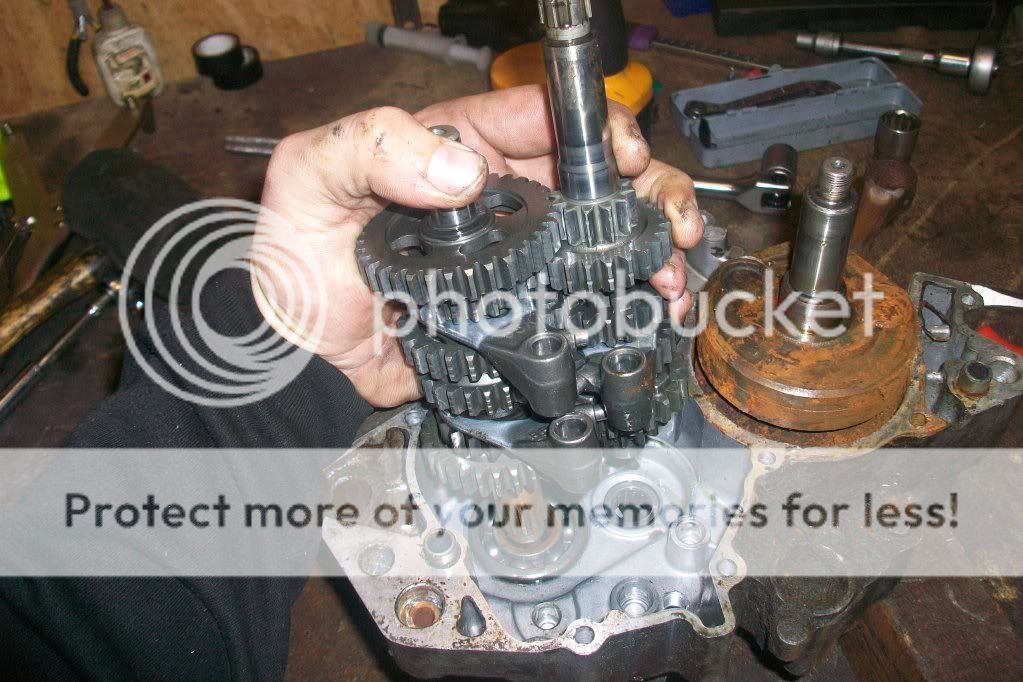
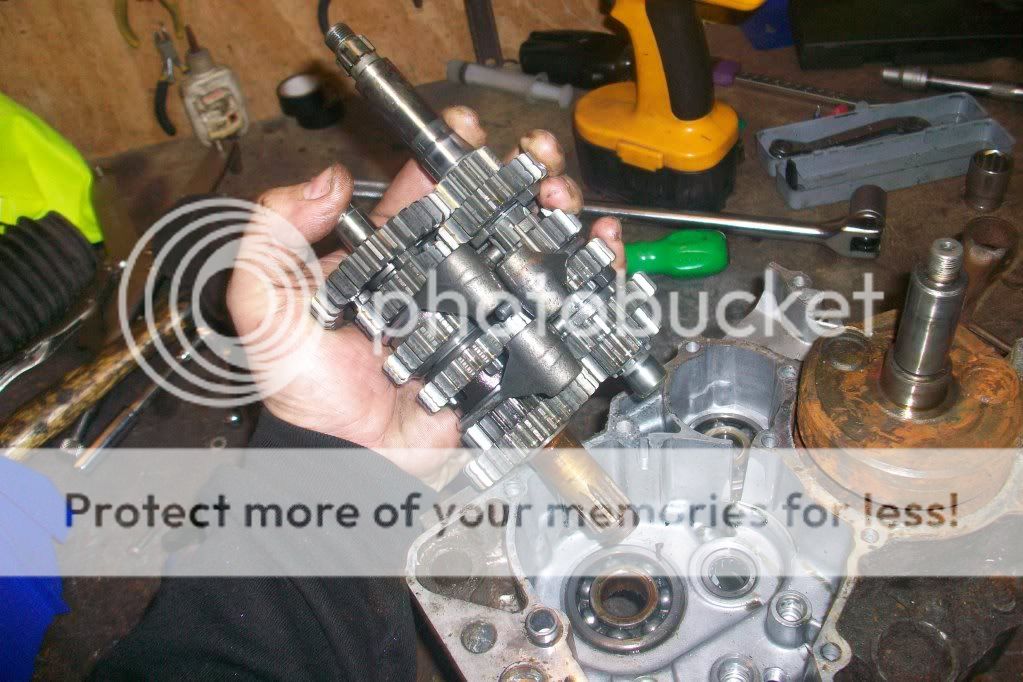
its a big help if you can remove the lot in one go and intact, if your not diagnosing a gearbox problem it dont matter whip it out like
and then fasten it togever wi tie raps like
be care full not to drop and dislodge any casing dowels located at front and rear of cases
these need some grease on installation/copperslip or what ever
next for bearing and crank removal if its stuck like most do
most of the bearings can be batterd out with the wacking stick and a suitable socket
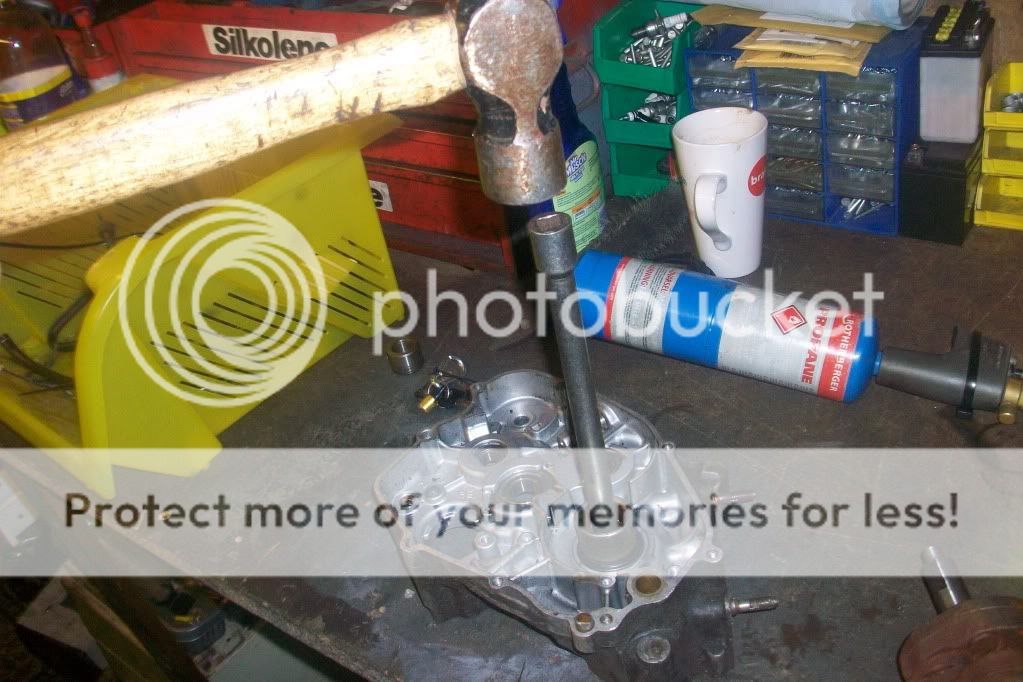
if your the whittling tipe of nerd you may heat the case with a blow tortch
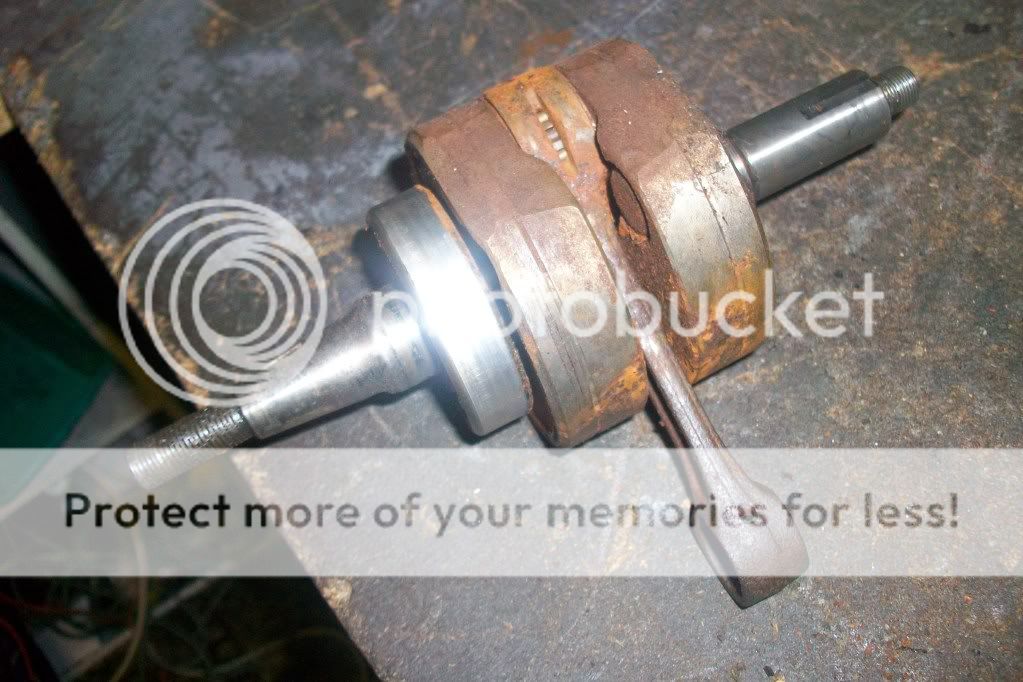
then use some wood and a hammer to nock the crank out of the case
leaving you with this
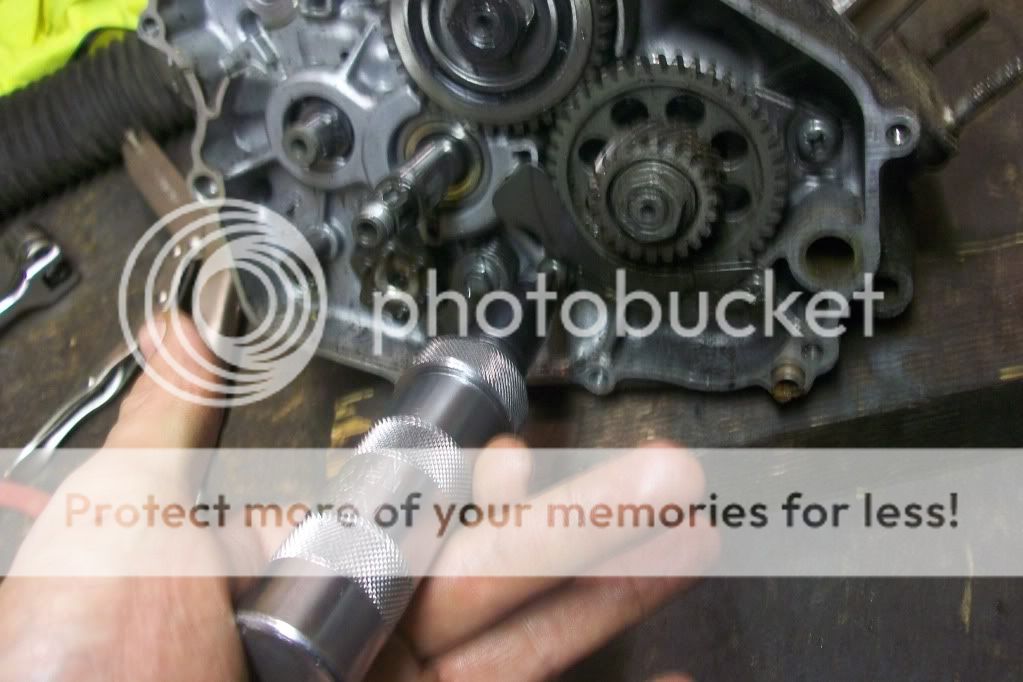
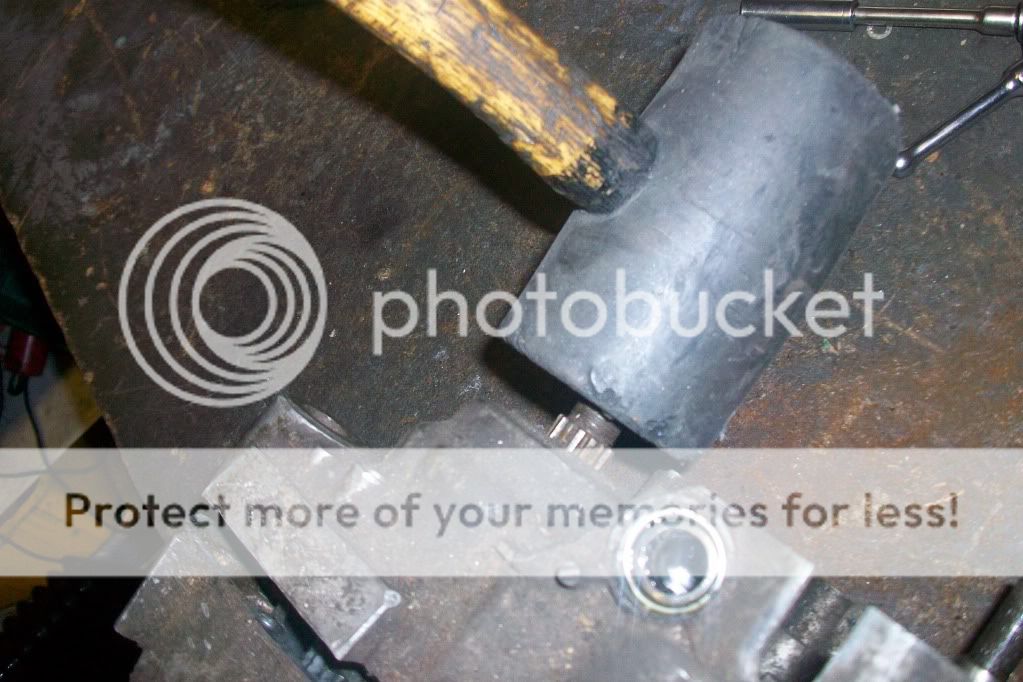
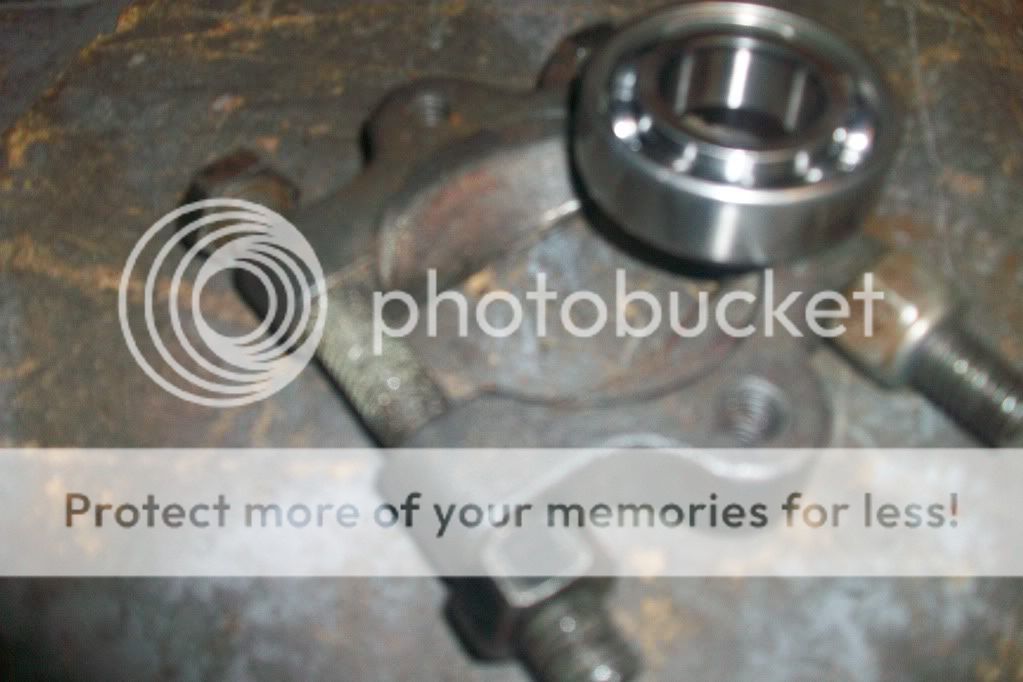
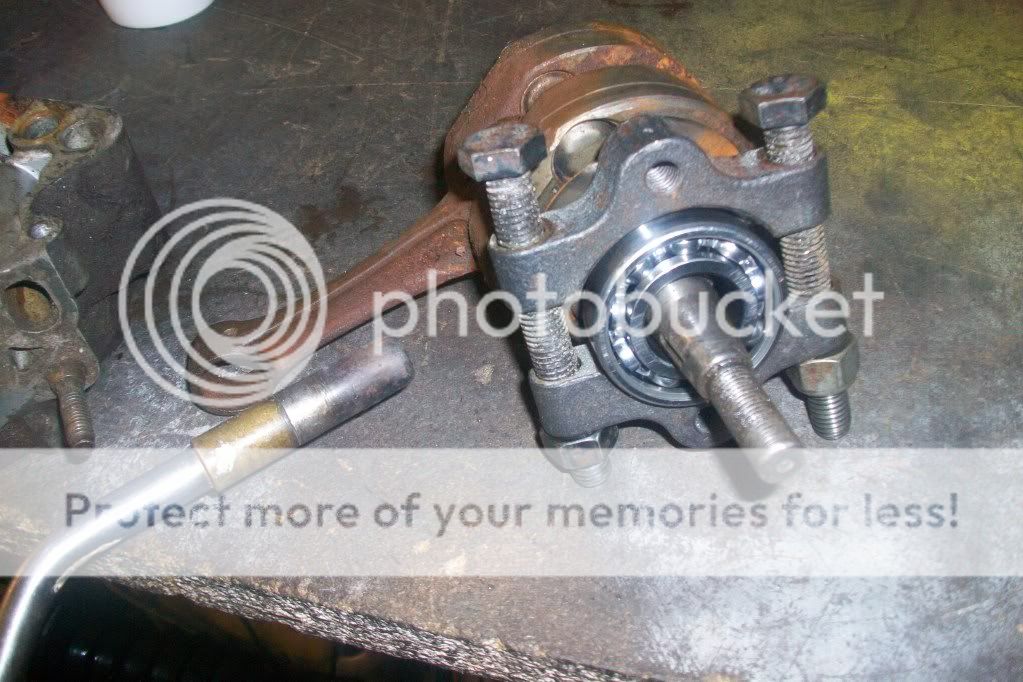
now when im at carboot sales or what ever i always have a good scrounge round the tools,to remove a bearing stuck like this ull need a puller like this
that sits over the edge of the bearing and slices behind it when u tighten it thus pushing the bearing off
may need plenty of heat on this as i did
may be bang the lot in the oven on 250 for half hour then ull need some gloves b4 u burn ya sen, im just to impatient and **** be aseed with the oven lark so blasted them with the tortch
for nokkin the other bearing out put it on a flat surface and use a socket again
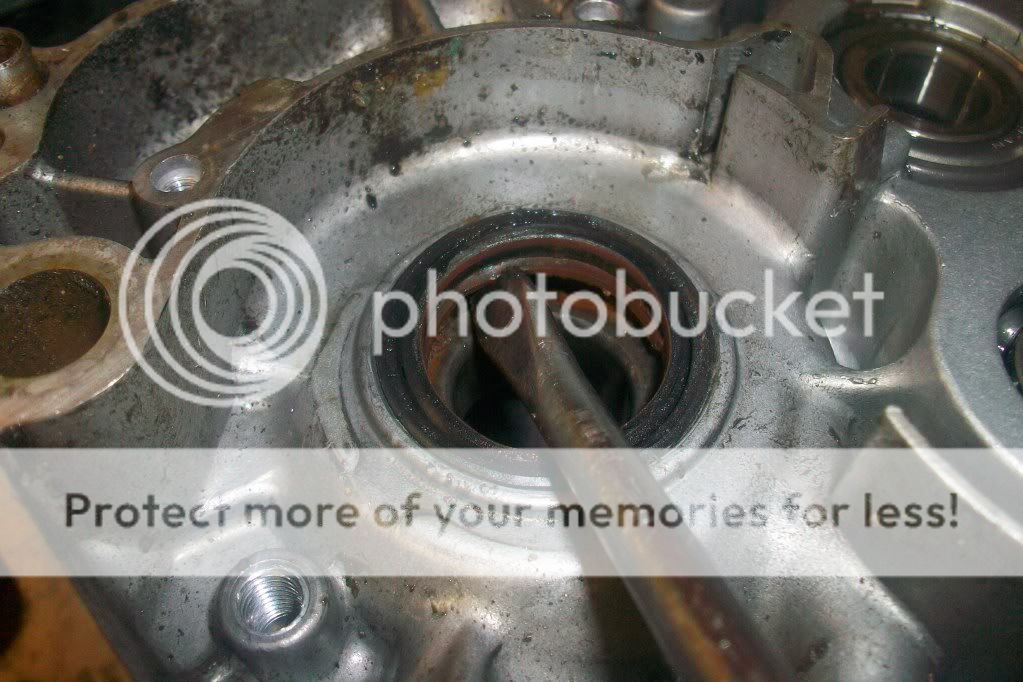
for right hand side crank seal removal just prise it out or nock it thru
then on installastion make sure you have all the correct bearings/seals fitted
lhs crank seal is a special double lipped viton coated seal
best off with genuine on this one!
make sure all the sealing surfaces are clean and dry and have no burrs on from stripping
the crank case centre is a liquid gasket ( you only need a smear of sealant or a 1mm bead along the outer edge, i apply my centre gaskest with a syringe and big needle it works a treat and this is the best stuff to use