Due to this being a common issue I've decided to take the time to type up how I skim my barrels and heads. I've been doing this method for years and it seems to work a trick. By no means am I professional mechanic but I would like to share how it's worked for me.
Firstly I would like to say a few things:
Remember it's a marathon not a race
Take you time
Be patient
Don't force things
Be GENTLE
The idea is to gently remove material
Aluminium is malleable
Follow these steps and you should find success
So let's start.
Equipment
Barrel
Head
Three Kinds of Wet and Dry Paper (Varying thickness)
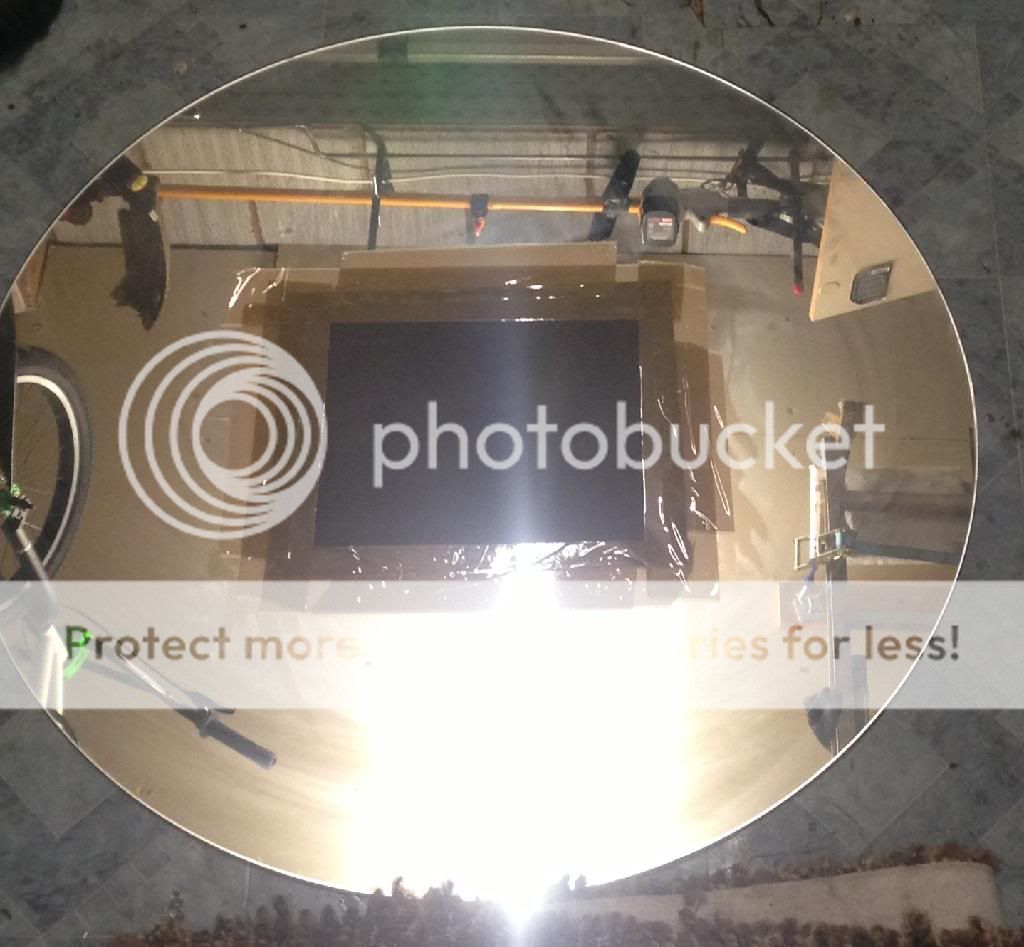
Completely flat surface (Ideally a sheet of glass)
A jug of water
Brush
Extension: Polishing Combustion Chamber
Drill
Polishing Tool
WD40
Autoglym Metal Polish
Firstly find a suitable flat surface to mount the wet and dry paper to. You want to start with the coarsest first and work your way down to the finer grade.
Remember if the surface is not completely flat you will not be able to skim the item.
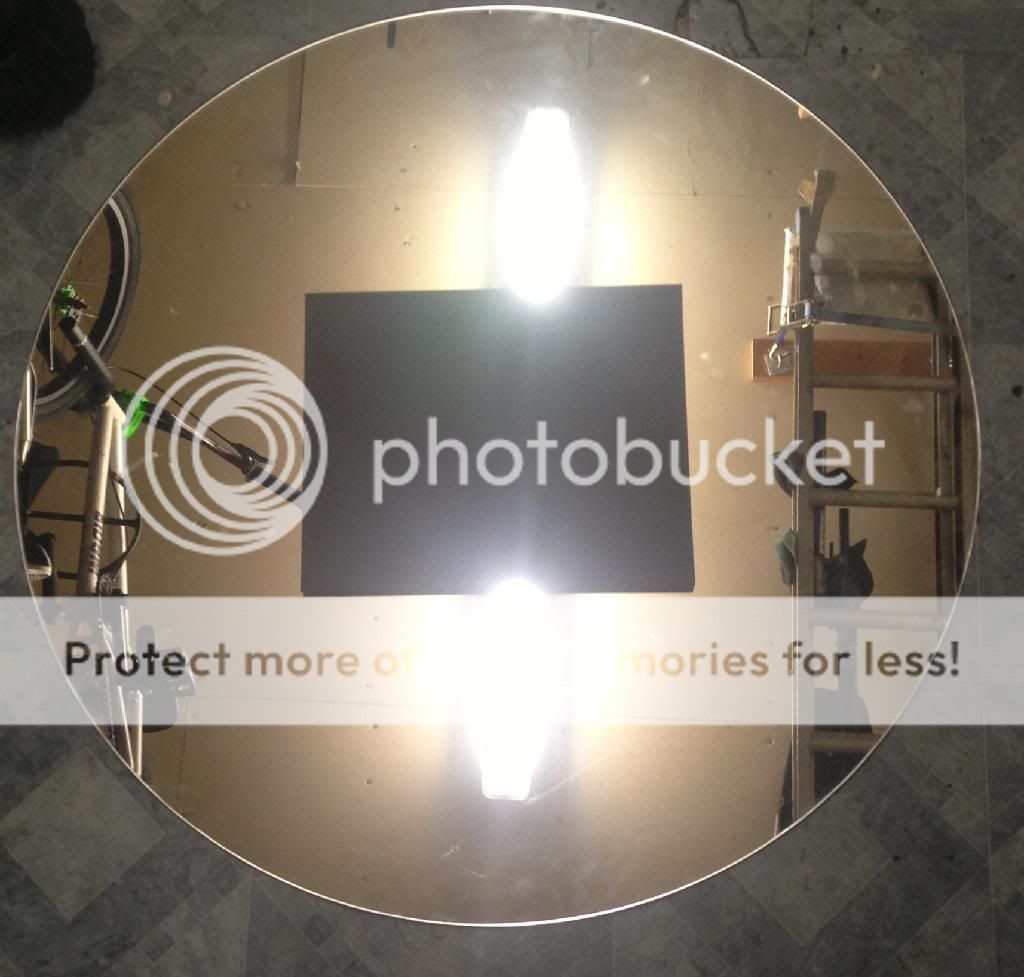
I don't have access to a flat workbench that has been CnC perfectly. The next best thing is a sheet of glass, which like most, I do have!
Place your sheet of wet and dry to the glass. Make sure it is completely flat onto the glass and tape it down.
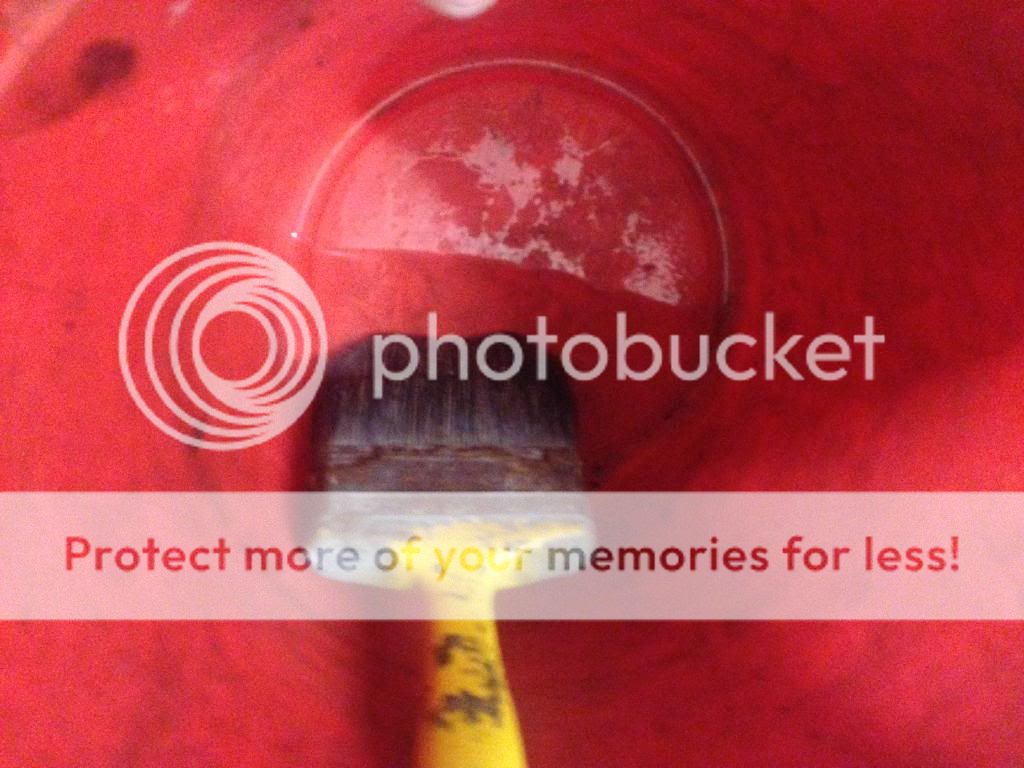
Grab a bucket of water and a large brush
Apply a small layer of water to the wet and dry paper. Try not to over wet the paper. One dip of the brush of this size and apply all over was enough.
Grab the item in question:
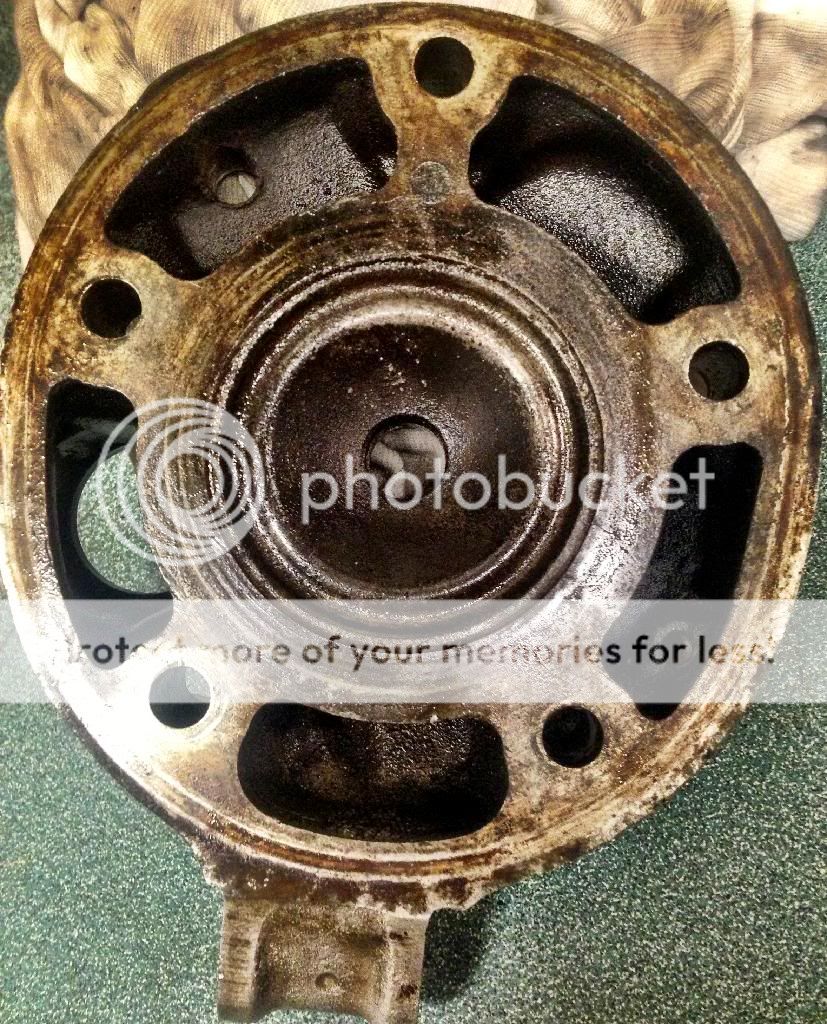
So this is a spare 3BN head that Andy sold me. As you can see it's in a right old state and this method works really well to tidy it all up.
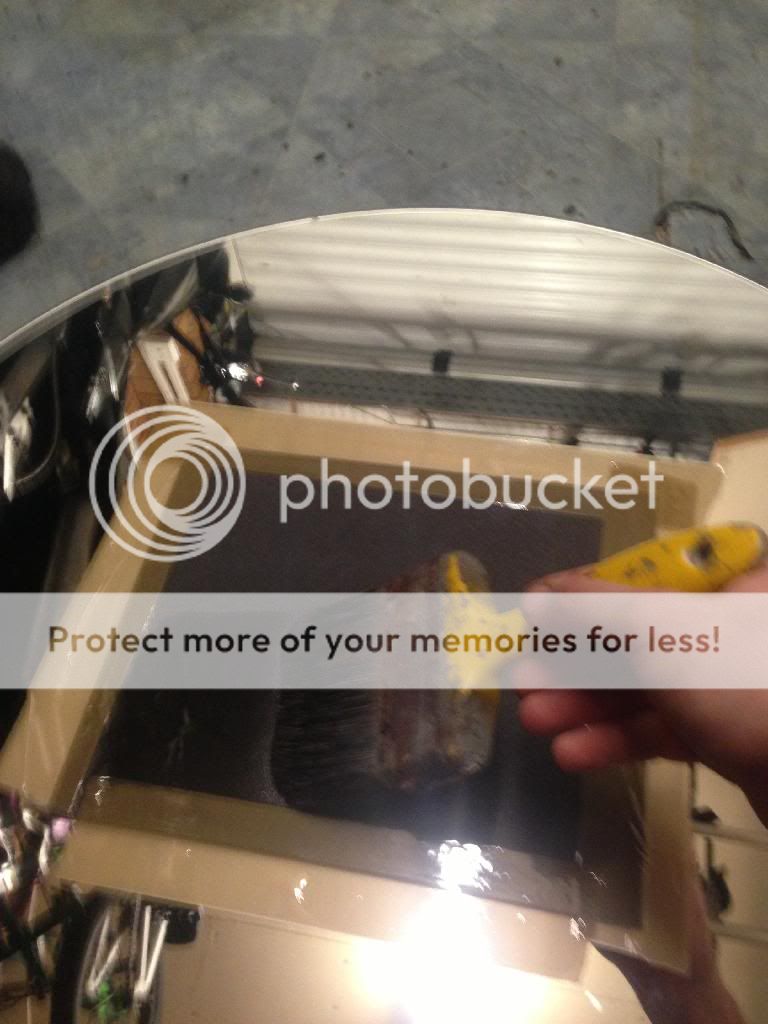
By Placing it face down start to rotate in circular motion over the wet and dry paper.
^^^^^^In this photo i'm using my 4DL head^^^^^^^
The 3BN actually went last so it's final effect is not as good as the 4DL head. But I don't intend on using the 3BN It was just a good example
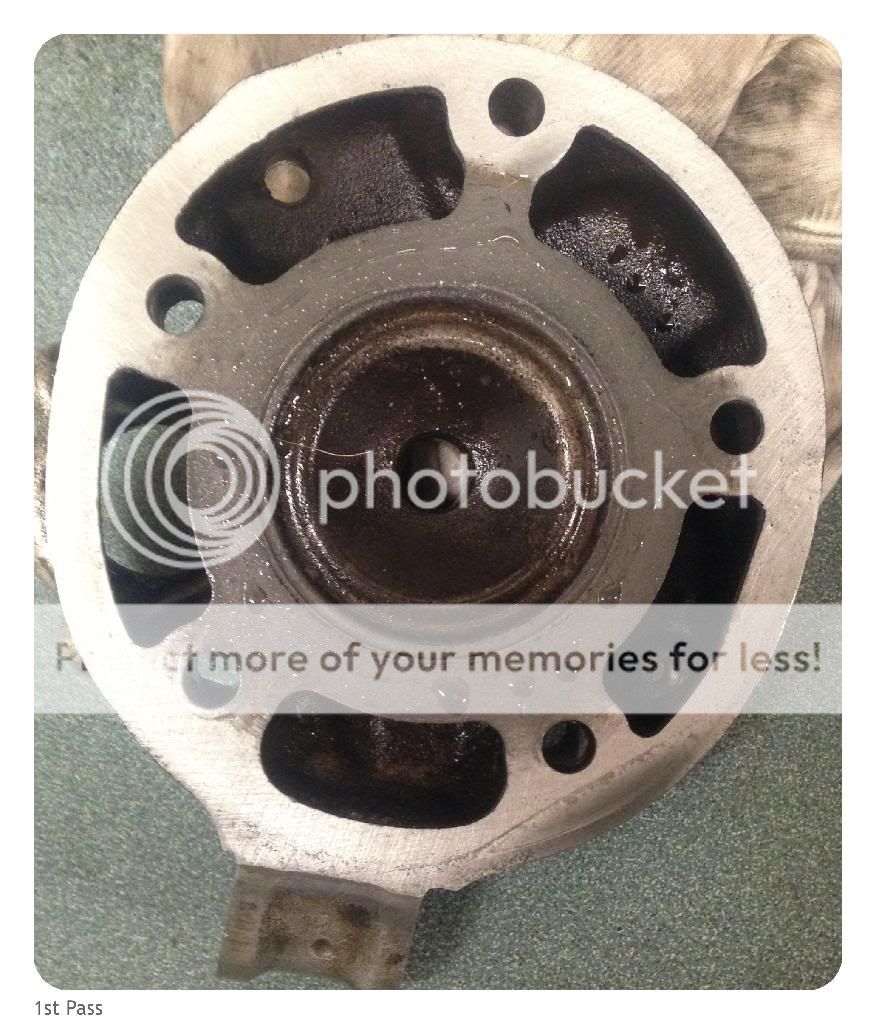
**Back to the 3BN head**
This is the 1st pass of the wet and dry and remember this went after the 4DL head and Barrel had used the same wet and dry. So you should be seeing better results.
I didn't even wipe it in this photo but you can see it's already looking better.
Lay down your next sheet of wet and dry REMEMBERING to now use the next grade up (Always going finer and finer)
Again apply a layer of water to the paper like you did before and rotate the item in circular motion.
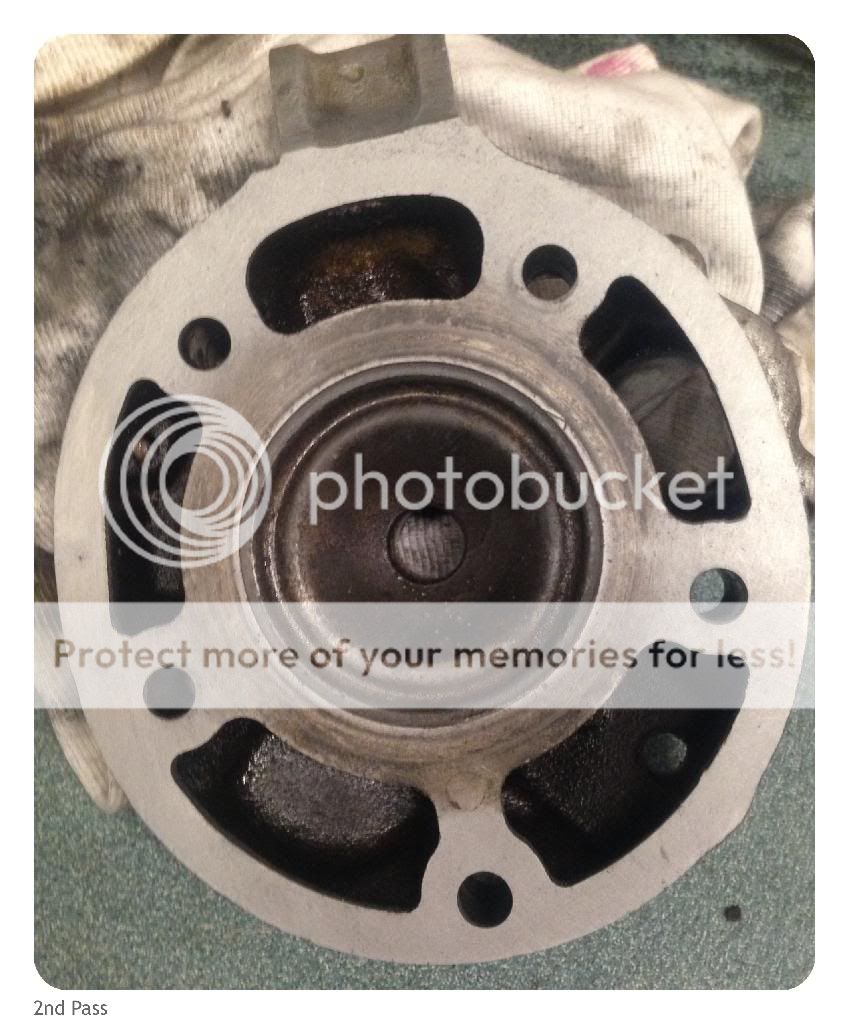
This is the second pass. I gave it a little wipe before I took this photo. Just so you can now start to see how much it's cleaned up by.
Again go the next grade up on the wet and dry paper (You should now be at your FINEST grade of wet and dry paper)
Apply some water to it like you did in the previous passes.
^^This is the FINEST grade ^^
Again rotate in circular motion
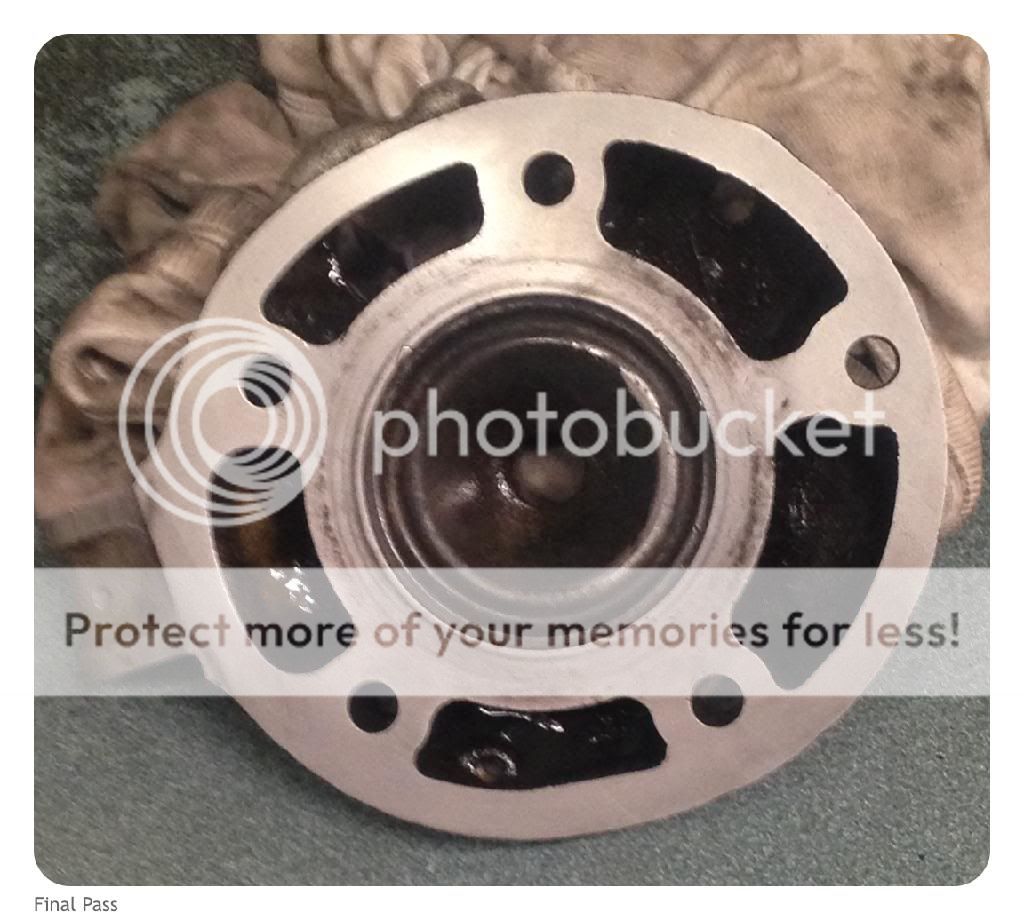
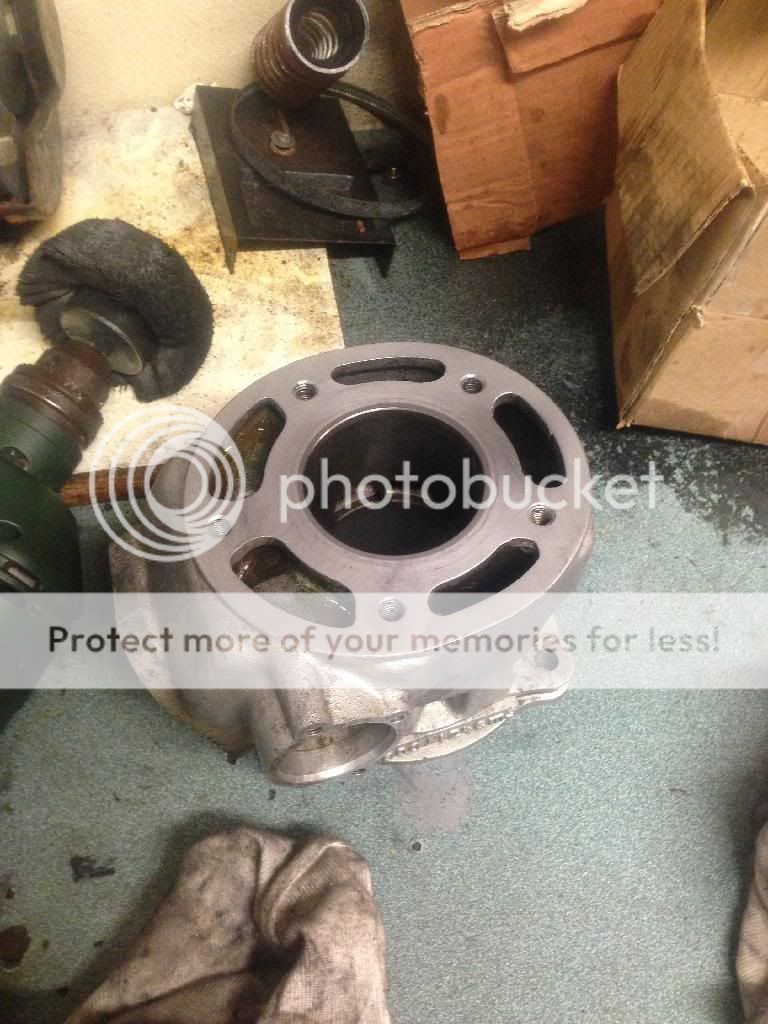
This is what the cylinder finished up like...
That ring of dirt by the water jacket HAS to go. Yours should have but because I had already used the same wet and dry paper to do a Barrel and a Head it was worn down by the time this one came to use it.
You should now have successfully skimmed your item. It ought to look better than that 3BN cylinder and I do have a photo of what the 4DL looked like after I finished. (The 4DL went first on the wet and dry so came up much better)
Extension
Whilst you have the cylinder head off you might as well go the extra mile and polish up the combustion chamber.
By Polishing up the combustion chamber you can reduce the build up of carbon and thus increase performance.
Here's how I do it.
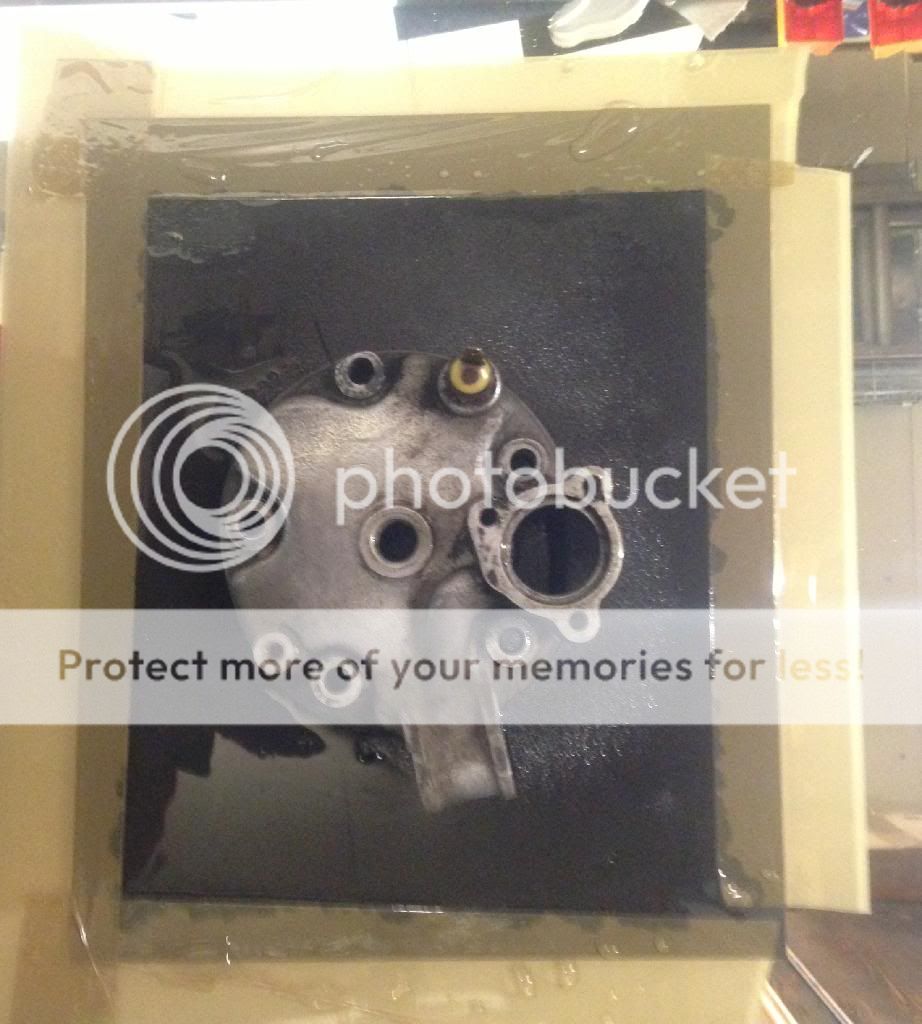
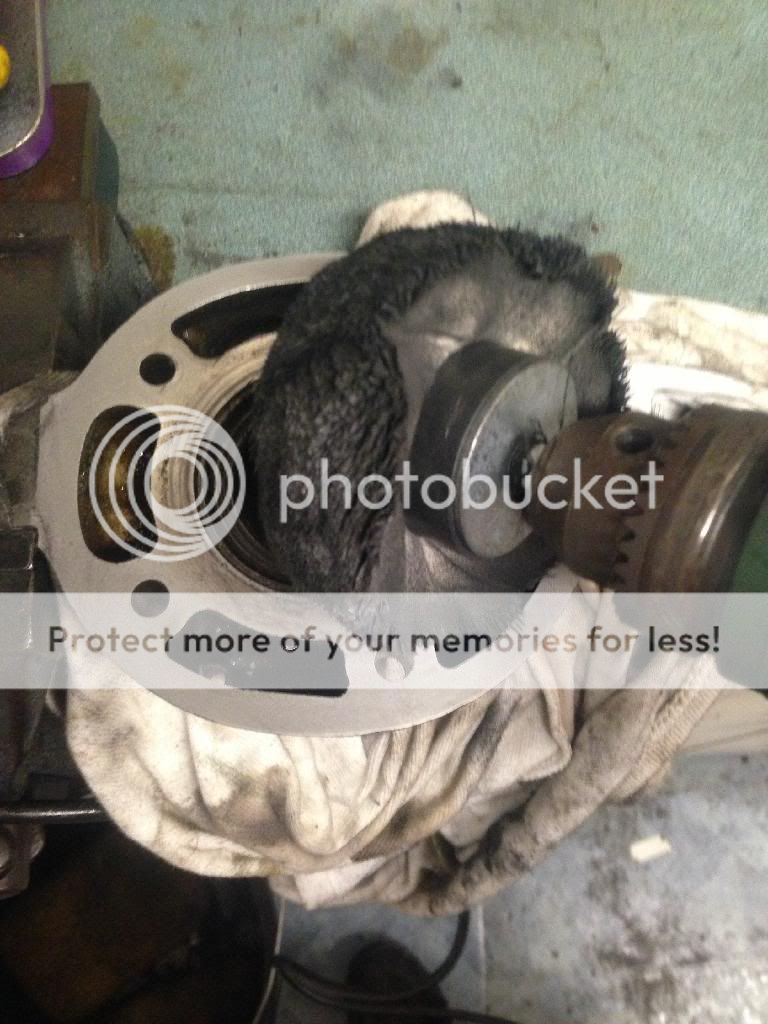
Place the culprit into a vice and clamp it down using the engine mount and a rag to protect it. It's a good idea to place an object for the head to rest on whist you work on it.
Using a cheap polishing tool off ebay for about £5 you can begin to get rid of the surface carbon build up.
To aid this I applied some WD40.
This is a soft polishing tool that i've used on many cylinders and for £5 it seems to do the trick.
Rememebering to be gentle at all times. Let the Drill do the work not you. Keep applying more WD and you should get there.
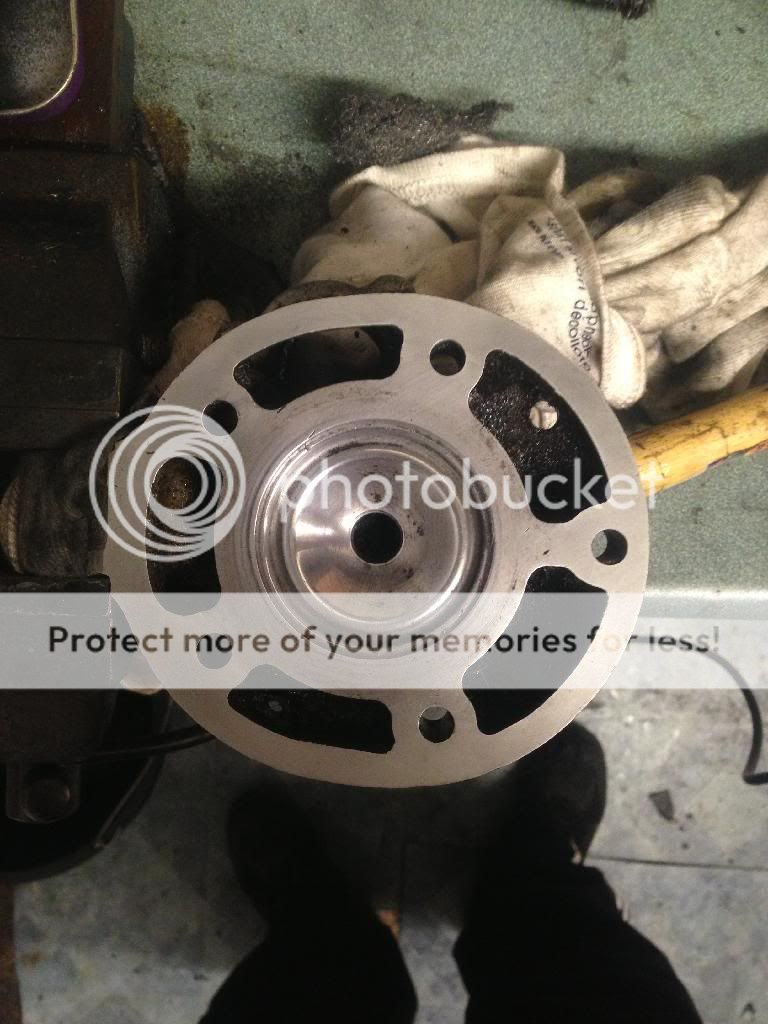
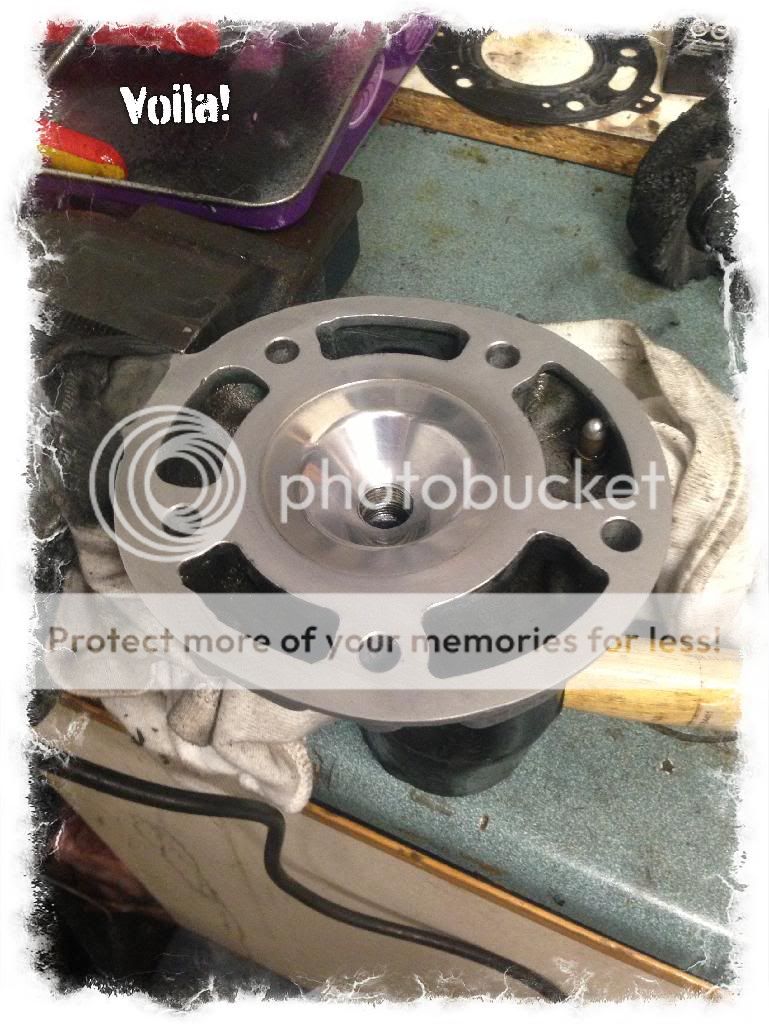
You should end up with quite a clean looking cylinder head.
(Remember of course here i'm doing to a head that I have no intention of using so I didn't give it 100% but do have a photo of the 4DL which I did spend more time on)
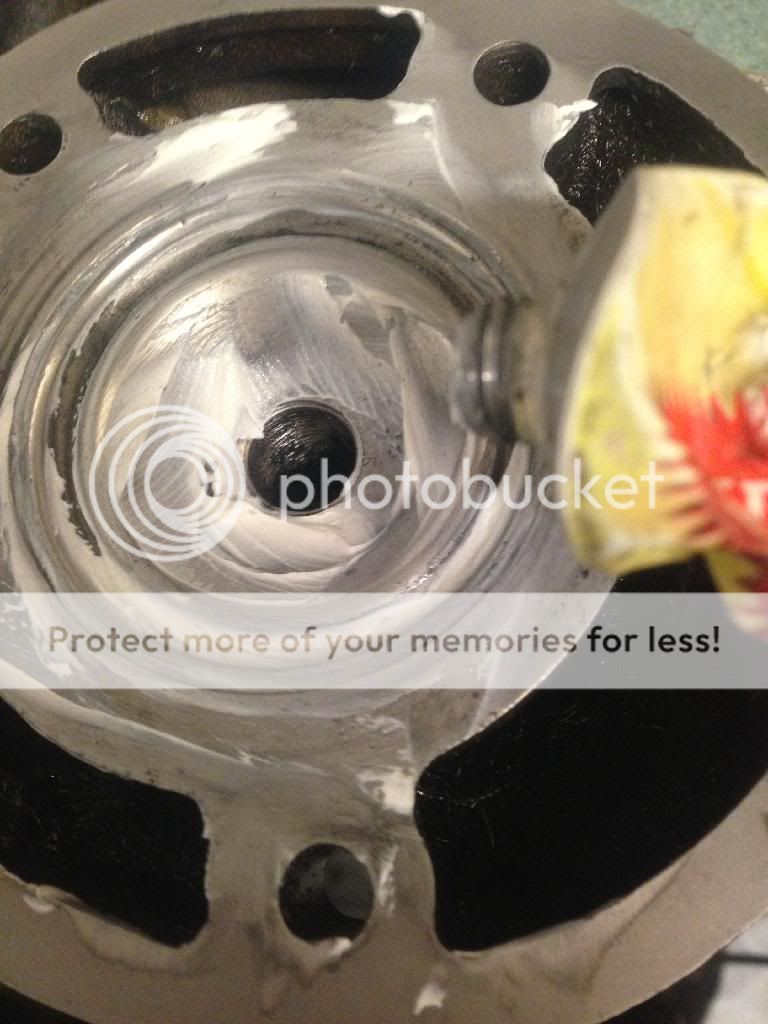
You now want to begin polishing this combustion chamber.
Apply thin layers of Autoglym metal polish (or something similar)
And the again begin with the drill. Remembering at all times to be gentle and let the drill do all the work.
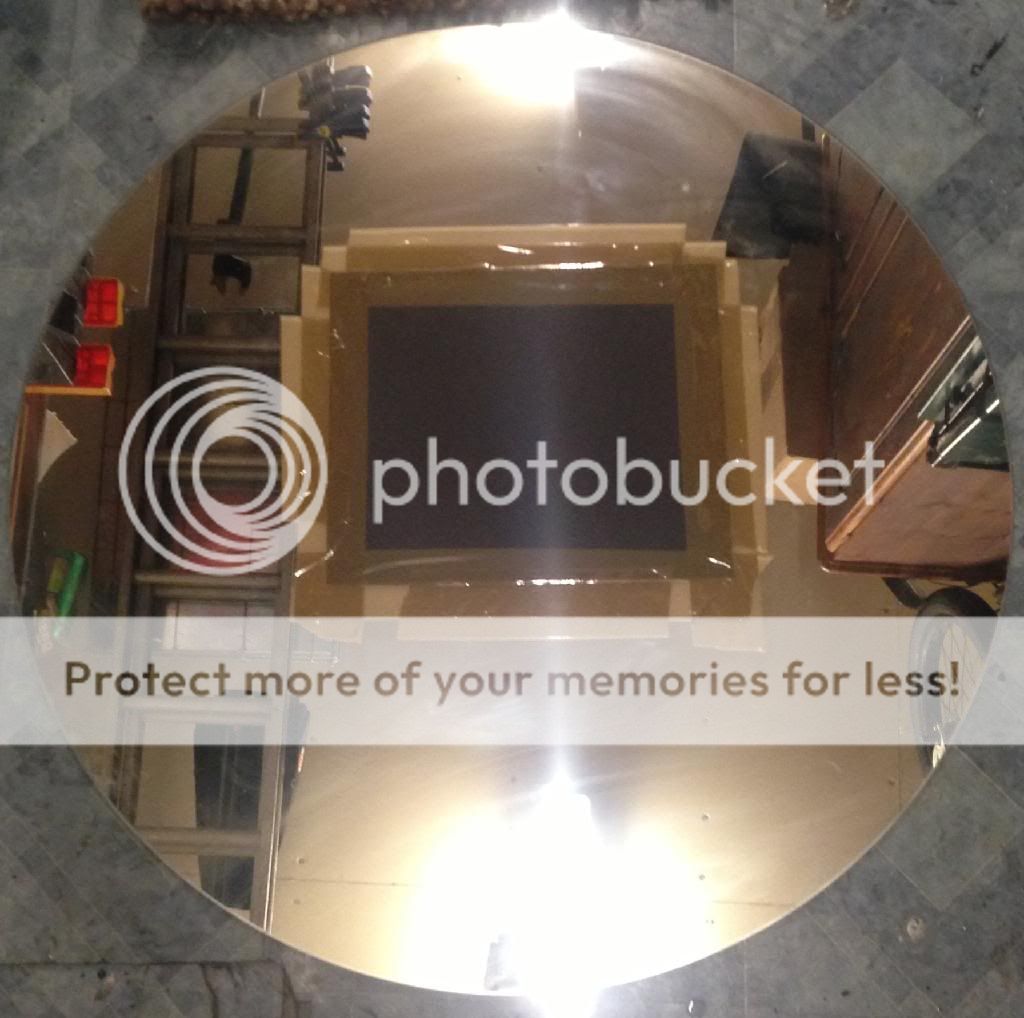
Once that layer of polish is all gone you can wipe it clean and apply some more and repeat the process. If you work hard enough you can end up with a mirror finish.
For the hard work you do and the pennies it costs to do you may as well.
I didn't do it too much on the 3BN as it is not in my interest too. But here is the 4DL that I was working on at the same time...
If I was really bothered I could work even harder and get that a mirror finish.
And there you go. You're finished.
Of course REMEMBER if your head has warped then chances are the cylinder has too. MAKE SURE YOU DO BOTH THE CYLINDER AND THE HEAD!
Get them both cleaned up and flush and that should see you a goodun.
I will of course reinforce the MUST use of genuine head gaskets upon the rebuild else all this work has been for nothing.
As said I'm no mechanic but this method has worked wonders for my warped barrels and heads. And if nothing elsethen it's a good way of getting the barrel looking swish.
Good write up Callum, will be good place to point people who are buying a new genuine head gasket every 2 weeks and wondering why!
Haha cheers mate. That's kinda why I wrote it. So many people ask and can't be bothered to look. So this ought to come in handy just to point people to.
Nice simple guide Calum, just a note for people who don't know
this is also how you polish the pv
You know as I was typing this up I did think that. That's a job I still have to do so I can quickly add that in. Add it to the extension part next weekend when I get time.
Another way of doing the cylinder head Calomine, is to set it up as you have, but to put a spark plug into the head then put the spark plug into the drill chuck, (pedestal drill best) and give it a minute on the wet and dry.
Another way of doing the cylinder head Calomine, is to set it up as you have, but to put a spark plug into the head then put the spark plug into the drill chuck, (pedestal drill best) and give it a minute on the wet and dry.
Yeah there is that. I might include that video. But this way can be done by anyone on minimal tools
Brilliant right up on that Cal. The forum would definitly benefit from more of these. A picture tells a thousand words and all that and without trying to understate what you've done here it doesnt take long for any of us to pick up a camera or smart phone and take a few photos as we do things. Then write up a few words to accompany them in a post. I know when Nev posted on another forum of how to clean up surface rust on Dep's with T cut and a wire brush on a drill it inspired me to do it. I wouldnt have without the photos to prove the results. I can see many people skimming their heads and barrels and polishing combustion chambers. Lets hope no one gets carried away and end up with a crispy thin head :P
Brilliant right up on that Cal. The forum would definitly benefit from more of these. A picture tells a thousand words and all that and without trying to understate what you've done here it doesnt take long for any of us to pick up a camera or smart phone and take a few photos as we do things. Then write up a few words to accompany them in a post. I know when Nev posted on another forum of how to clean up surface rust on Dep's with T cut and a wire brush on a drill it inspired me to do it. I wouldnt have without the photos to prove the results. I can see many people skimming their heads and barrels and polishing combustion chambers. Lets hope no one gets carried away and end up with a crispy thin head :P
Cheers. It makes it more worthwhile when people comment.
Notice that's your old head there too. Underside nicely cleaned up. Just need to sort out the visible side lmao!
Glad to hear it! I'll have to practice what I preach now and get photos next time im in the garage. That is unless this house deal goes sour and the only tool i take into the garage is a shotgun...
A bit of parrafin on the outer will do that head :)
Yeh cal that was a boss write up, ill make sure ill follow it when i need it :)
__________________
i blew my dt up ... but i fixed it.... Then i crashed it.... but i didnt fix it right and 2 scouser's come in the middle of the night and left me with a working bike
Way I do it - got a sheet of toughened glass (15mm thick, about 30x30cm) from my bro's workplace. Using some fine grinding paste... Just rub the head/barrel in a circular motion on the glass - perfect skim every time.
-- Edited by mushy408 on Friday 6th of February 2015 09:41:13 PM
Another good way is to attach a spark plug socket bit to a drill and put the spark plug in the head. Conmect te two and then skim. But it's all the same. This is just a nice write up of it all.