alot of you most likly already know how to do this properly but iv seen alot of real bad bodge work on electrical systems n it drives me mad! lol so i thought ill show thos that have no experience in doing this, in doing right, by doing it this way you will have a fault and corrosion free system for a good few years no matter what ****e u put ur bike through.
ok so start by cutting back the outer layer on both cables at the same legnth to eachother, but do not twist the wires just yet leave them straight it makes them twist together better later on. also slide a bit of heat shrink over one of the wires, make sure its a bit longer than the bare copper thats now exposed
(the red wire in this pic was a bit dodge as the previous attempt at joining them wasnt very good as it wasnt sealed up properly causing the copper wire to go black n corrode slightly but itll survive)
now cross the wires over half way to eachother then twist together so it looks like this
then get your souldering iron and hold it in the center of the twisted wire to heat up the wire, as you hold it on there touch the soulder onto the wire itself the soulder will melt into the wires and almost soak it up. drag the bit of soulder all the way along the twisted wires to cover it all. if its taking a while for the soulder to melt u can jus touch it in the corner between the wires and souldering iron to get it goin
somtimes if u hold the soulderingiron on the wires too long it can melt the outer cover a bit so try be as quick as possible wen doin it, can see its happened here on the red wire slightly.
finally slide that bit of heat shrink over the join and GENTLY heat up with a lighter untill its tighly wrapped around the join.
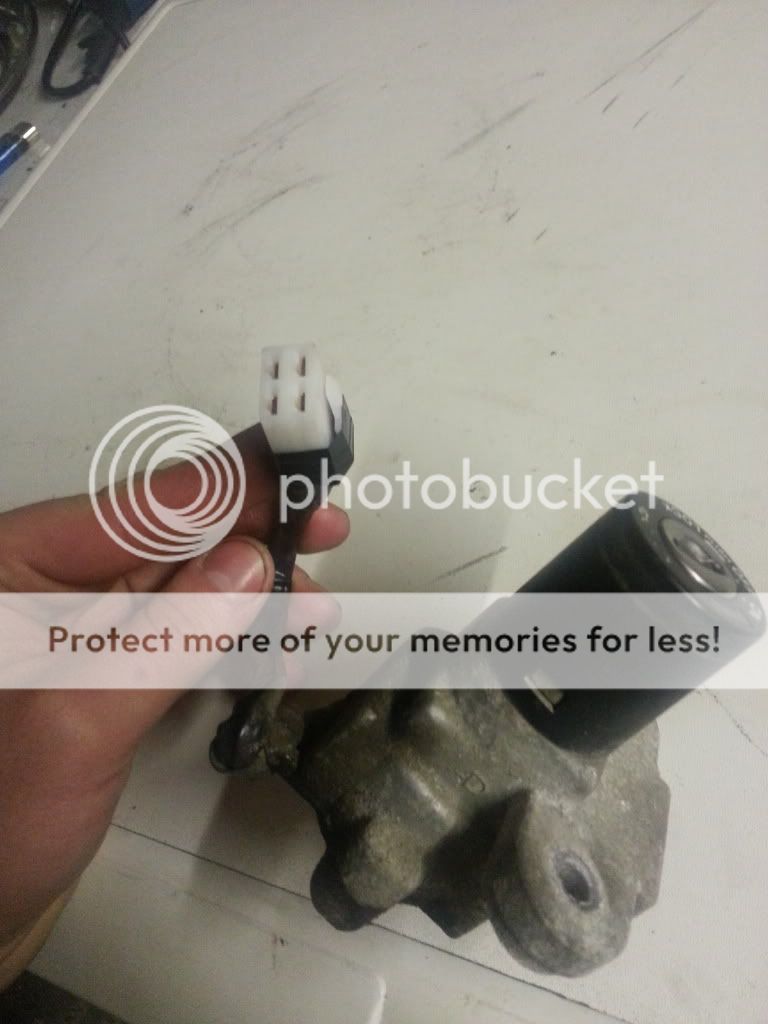
also heres how to join spade connectors for a multi plug so that they aint gonna get pulled apart easily
first cut the outer cover back only need about 8-10mm exposed for this depends on the size of the connectors. add a bit of heat shrink on there too twist the wire up at the end this time round to keep it rigid
then fold the tabs over the exposed wire one side at a time nice n tight with a small pair of long nose plyers first but make sure the outer cover of the wire is inline with the rear tabs as in pic
then fold the exposed wire back over and then fold the rear tabs over try and keep the tabs folded in colse to eachother
when u fold the wire back over like this itll be really hard to pull the wire out the block once its all together keeping it nice n strong
then seal up wuth the bit of heat shrink added earler at the start
then slot the connectors into the block real simple, jus get them in the right places to eacother can be a pain to get them back out if u dont have a really small pick otherwise lol
so before
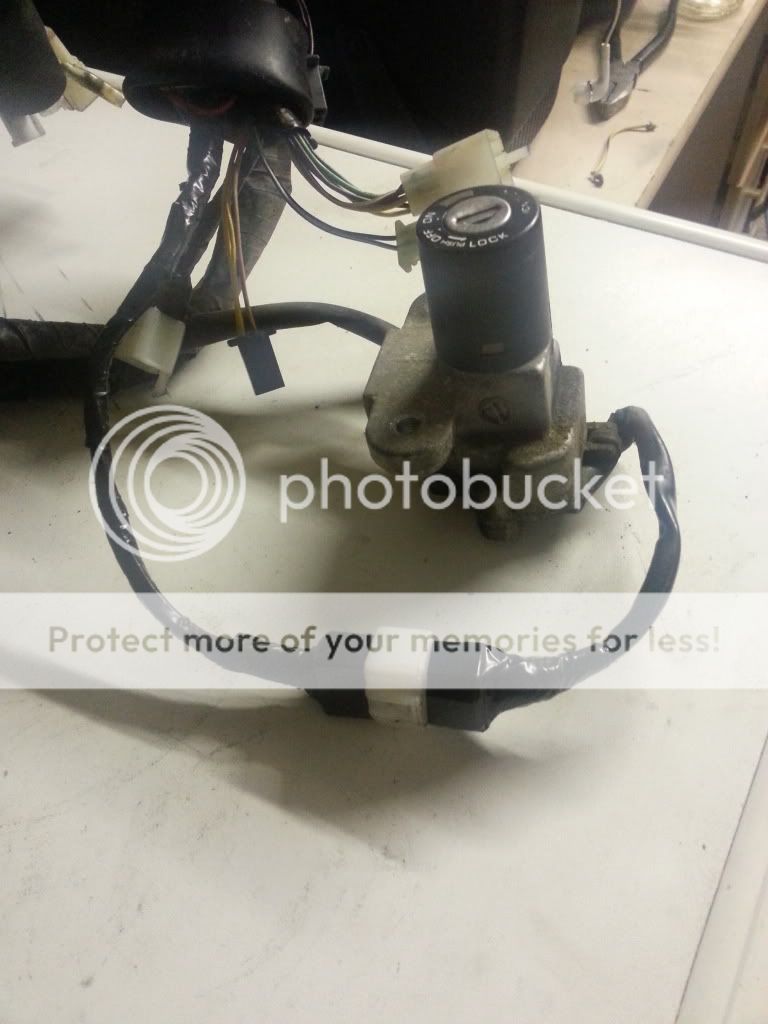
the yellow/black wires with 2 bad connections in each was the 4 wires from an ignition barrel to the loom
and after,
soz i already wrapped it up tight befor i took a pic lol but u get the idea
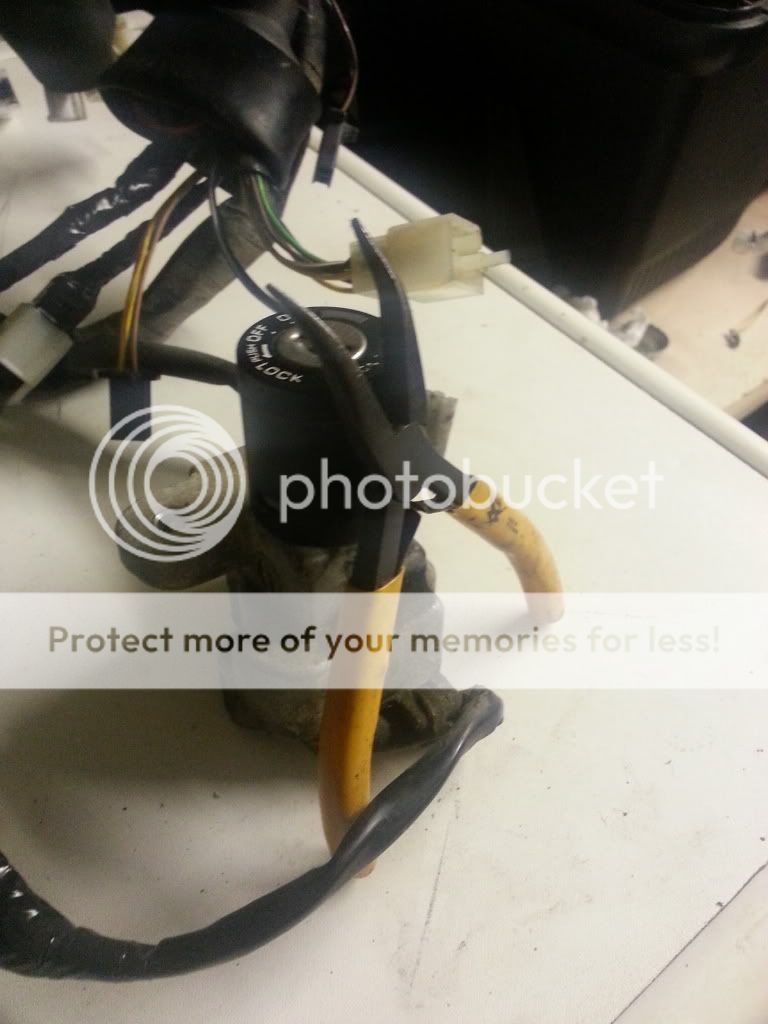
these are the plyers i used for the tabs on the spade connectors, perfect for the job imo
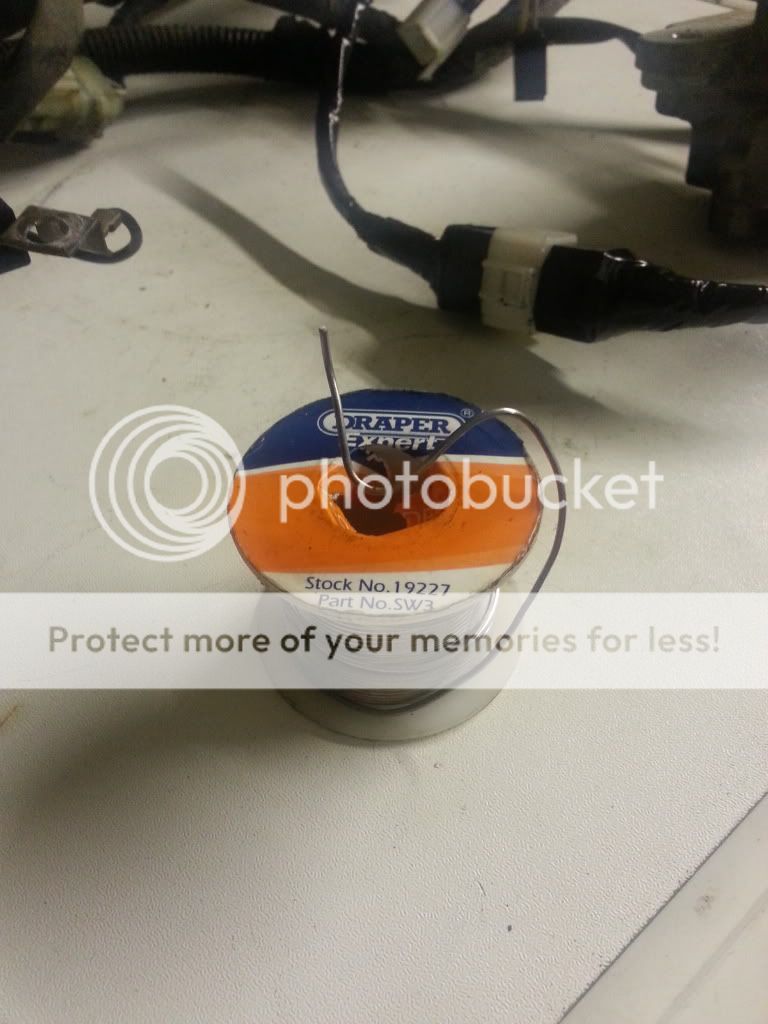
and the soulder get urself a roll like this itll last u ages iv had this for a good few years now lol
-- Edited by DT-R_bradders on Tuesday 18th of December 2012 12:43:27 AM