DT125R ARCHIVE
| Post Info | TOPIC: 1991 DT125r re build | ||||||||
|---|---|---|---|---|---|---|---|---|---|
|
DTR Senior Member

|
|
||||||||
|
DTR Senior Member
|
|
||||||||
|
DTR Senior Member
|
|
||||||||
|
Guru

|
|
||||||||
|
Guru
|
|
||||||||
|
Guru
|
|
||||||||
|
Guru
|
|
||||||||
|
Guru
|
|
||||||||
|
DTR Senior Member
|
|
||||||||
|
Guru
|
|
||||||||
|
Guru
|
|
||||||||
|
DTR Senior Member
|
|
||||||||
|
DTR Senior Member
|
|
||||||||
|
DTR Senior Member
|
|
||||||||
|
Guru
|
|
||||||||
|
Guru
|
|
||||||||
|
DTR Senior Member
|
|
||||||||
|
DTR Legend

|
|
||||||||
|
DTR Senior Member
|
|
||||||||
|
Guru
|
|
||||||||
|
DTR Senior Member
|
|
||||||||
|
DTR Senior Member
|
|
||||||||
|
DTR Senior Member
|
|
||||||||
|
DTR Senior Member
|
|
||||||||
|
DTR Senior Member
|
|
||||||||
|
DTR Senior Member
|
|
||||||||
|
Guru
|
|
||||||||
|
Guru
|
|
||||||||
|
DTR Senior Member
|
|
||||||||
|
Guru
|
|
||||||||
|
|||||||||

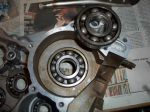
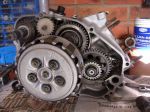
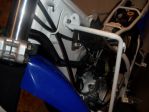
 ,you can see very little wear here but they get bad and round right off ,
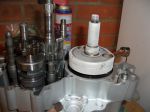
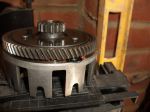
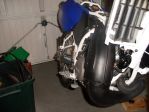
 hope this helps and it's something u could try strait away as it just pulls right out


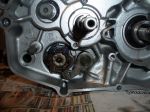
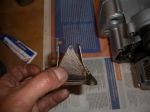
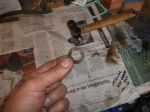
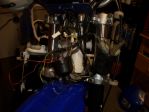
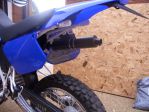
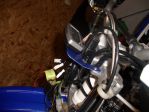
 , I don't think it is from inside the engine as it looks a bit battered and corroded but god knows where it should live as i only had a box of bits to rebuild it with! Any ideas?
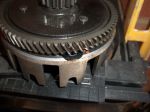
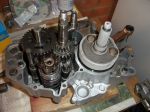
 .
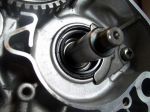
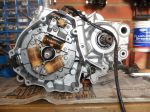
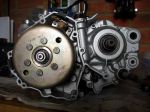
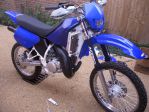
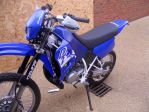
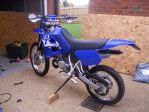
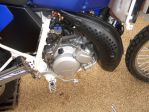
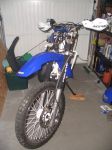
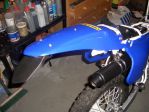
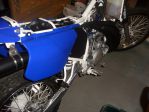
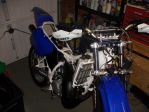
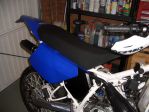
. . New engine fired up again today (now i have fixed the clutch cover oil leak) and sounds sweet so i am nearly there. Next problem is where to have the tank sprayed in the right shade of blue???


|
|
||


|
