DT125R ARCHIVE

Members Login
Username 
 
Password 
    Remember Me  
Post Info TOPIC: Slob's DT 125 X 2005 Restoration project ( pic heavy )


Admin

Status: Offline
Posts: 2156
Date:
RE: Slob's DT 125 X 2005 Restoration project ( pic heavy )
Permalink  


Yeah ended up with the red tape, still bright as fcuk 4 years later. white will suit yours better, plus lights up at night 


__________________


Guru

Status: Offline
Posts: 849
Date:
Permalink  
 

Think I seen your bike on you tube, built on the roof? If so amazing build. Great video to.


__________________


Guru

Status: Offline
Posts: 849
Date:
Permalink  
 

Cheers, should have it done end of Feb start of March. Although I kind of feel it will start coming together fast as I have alot of the stuff now, still to sand the all the fairings down the now. Going for a good finish on the plastics as I feel I have worked out a good system with practice. Doing lots of research on the engine build at the moment.

Have you got a link to your vid. 


__________________


Admin

Status: Offline
Posts: 2156
Date:
Permalink  
 

It's all about working this time of year, try outside on a roof in snow sanding siht lol

here's vid man


__________________


Admin

Status: Offline
Posts: 2156
Date:
Permalink  
 

Hey hang on is your oil bottle bracket bent?

__________________


Guru

Status: Offline
Posts: 849
Date:
Permalink  
 

90 000 veiws thats insane, your video was what actually inspired me for my build a long time ago looking at random videos one night, ie dont bother to much about what you spend, and have it looking like new with your own design.

Wish I could get the hipres rear fender, but I cant cause I want to keep my side panels. Did you ever rebuild the engine in the end?


__________________


Guru

Status: Offline
Posts: 849
Date:
Permalink  
 

Seiki wrote:

Hey hang on is your oil bottle bracket bent?


Dont think so. 


__________________


Admin

Status: Offline
Posts: 2156
Date:
Permalink  
 

Siht didnt realise the views lol

Yeah rebuilt the engine twice since then , threads are in this section somewhere. It lasted a year then bearing ceased, then rebuilt it only for the crank to go, taking new bearings with it lol

__________________


Admin

Status: Offline
Posts: 2156
Date:
Permalink  
 

slob wrote:
Seiki wrote:

Hey hang on is your oil bottle bracket bent?


Dont think so. 


My bad i'm forgetting it's a DTX 


__________________


Guru

Status: Offline
Posts: 2165
Date:
Permalink  
 

looking sweet dude keep up the good work! ever thought about getting the wheels srtipped and having the rims painted white! tht would look wkd! i can get em done for 250 quid all in with new stainless spoke and nipples..

seiki man u got ur engine sorted yet?? u gonna be up for the summer meet next year?? lol


__________________


Guru

Status: Offline
Posts: 849
Date:
Permalink  
 

Cheers mate. Would love to strip them down and have nice shiny spokes and white hubs ect but after trying to remove some of them I decided against it, Was up at the coaters the day picking up my tank and forks, was looking at some of the wheels they done and seen a really good Matt black it looked amazing, I am knocking my bearings out and the boy is going to mask my holes and to the whole rim in Matt black, cant actually wait lol. 

Want to get my crank cases done in Matt black but one of the screws on my oil pump has rounded and cant really get to it,also dont have a clue how to get that little oil inspection window out without damaging it. Will get some pics up of the tank and forks.

Doing the Harness tonight. Cleaned it up ect but not my favourite job cause it still a bit cosmetically crappy so I feel It is lowering the tone a little bit. It will be hiddinn anyway so I think I am just getting a bit OCD!


__________________


Guru

Status: Offline
Posts: 849
Date:
Permalink  
 

^^ Awaiting Nathlaad


__________________


DTR Legend

Status: Offline
Posts: 3766
Date:
Permalink  
 

heheeeeeeeeeeeeeeeeee, i'll mask your holes

__________________

K6 DRZ 400sm


Guru

Status: Offline
Posts: 2165
Date:
Permalink  
 

lol nath!

as for the oil window theres a circlip on the back jus remove that the poke it in from the outside

....nath? ^^ lol

__________________


DTR Legend

Status: Offline
Posts: 3766
Date:
Permalink  
 

Penis

__________________

K6 DRZ 400sm


Guru

Status: Offline
Posts: 849
Date:
Permalink  
 

Got my tank and fork legs back. The next time I go to the powercoaters should be my last visit when I go with my wheels and my crankcases.


04619272-A53E-47D6-9D6B-96FE66FFBA19-3516-000006826311E25D.jpg


Got this out eventually the fun that I had. All I could get was an allen Key through that tiny hole and it punched cleaen through. Got them all set to go now.


9BE2C163-E6ED-4412-9FD1-1F25B9C649AE-3516-000006826B256C91.jpg


11876CC2-1F24-42F1-AE94-B9CB153AE838-3516-00000682741EA1B3.jpg


Patience was needed holding a hacksaw blade to cut a slot in this cheese bolt. Was very pleased when I got it out with a few hits!


47DD2241-269D-4BB6-88E7-00A0CF9A6D2D-3516-0000068282A09A54.jpg


Got the swingarm built up got all my bearings and bushes in with a draw bolt and some big washers. Also got the harness installed after giving it a good clean up.


CCD8ADEC-5880-4E28-A6C8-F7B2ABC9BABC-3516-00000682972B9DDD.jpg


8D9A8CC9-5A77-498C-9B3B-80FB9F2E93D0-3516-00000682A769194E.jpg


9406FF7C-1A74-4E6A-AD5F-750B3DC1D2CF-3516-00000682B20AEC08.jpg


871AC98C-3C5B-4E7A-B4AD-124DF70F3A22-3516-00000682BACF0A9F.jpg


Removing the 2 stroke tank and selling it. Going for a pre mix set up. Will also tidy up the rear a bit.


150EBE64-E056-497C-A02F-793E2F5054D9-3516-00000682E7A8256A.jpg


Next jobs are to get my wheel bearings out, any tips? I dont care about the rears but I would like to kepp the fronts they have only done 400 mile. Hopefully build my forks back up when my circip retainers arrive.

04619272-A53E-47D6-9D6B-96FE66FFBA19-3516-000006826311E25D.jpg

04619272-A53E-47D6-9D6B-96FE66FFBA19-3516-000006826311E25D.jpg


__________________


DTR Legend

Status: Offline
Posts: 3766
Date:
Permalink  
 

That seat looks so fresh man, cut down perfectly too!

__________________

K6 DRZ 400sm


Guru

Status: Offline
Posts: 849
Date:
Permalink  
 

Cheers mate only good conditioned thing on the bike when I got it. Autoglym Vynal rubber care brings them up really good. I will put a pic of the bottle up. Best £5 you can spend if you wand a new looking seat!


__________________


Guru

Status: Offline
Posts: 849
Date:
Permalink  
 

Well I got my oil seals in my forks without to much trouble. Only mistake I done was forgetting to put the little spacer that the allen bolt goes through in the bottom of the fork leg. This was after I had drivin my bush and seal in rather nicely, so I had to pull the hard work apart and start again. If anyone uses the exhaust clamp and drain pipe method, make sure you have a nice flat cut through them!

 Just waiting on my circlips coming as my ones were toally rusted.

Anyone who wants their seat looking better than new get this stuff.


ABD671A1-FF59-4EC2-A954-1CBDDBAE3542-4996-000009AC33BA9670.jpg


Got my clocks and sand on. Going to have to make a small spacer for the stand to stop it banging into the swing arm. This is because I cut of the part the holds the stand kill switch.


3D9F00C3-6489-49E4-8ED0-8514D3C60D21-4996-000009AC43D848C5.jpg

A022BECF-F143-4466-B711-2F10424E6178-4996-000009AC997D6408.jpg

ABD671A1-FF59-4EC2-A954-1CBDDBAE3542-4996-000009AC33BA9670.jpg


__________________


DTR Legend

Status: Offline
Posts: 3766
Date:
Permalink  
 

Coming along nicely now mate, may even whack me nob out and slap ya tank with it if your lucky

__________________

K6 DRZ 400sm


Guru

Status: Offline
Posts: 849
Date:
Permalink  
 

A022BECF-F143-4466-B711-2F10424E6178-4996-000009AC997D6408.jpg

5B045D2F-589E-49DD-9CA4-752978A85889-4996-000009ABF9D8A608.jpg


3CD06C20-3357-484E-B22A-011571843D1D-4996-000009ACDCB08AA4.jpg


Got my wheel bearings out by using an expanding raw bolt and heating my up with a blow tourch came out easily, just be carefull not to over heat to save the bearing. Much to my surprise the rear bearings on this bike are new! The first clue was when I took the dust seal off and I seen clean white grease for the fist time rather than orange and brown corrosion.

The old bearings must have collapsed lol.


56645DF1-F0C7-4CE8-86CA-34B04B5A766F-4996-000009AD2F106E87.jpg


Started putting the levers and controls back on. Lads of up and down play in the clutch cause its so worn even with the new lever going to have to sort it somehow with a washer ect.

0BF3409E-0809-4D73-84BB-6E0A8A028B7A-4996-000009AD3B427E70.jpg


5B045D2F-589E-49DD-9CA4-752978A85889-4996-000009ABF9D8A608.jpg


__________________


Guru

Status: Offline
Posts: 849
Date:
Permalink  
 

8A400EF2-4D6C-48CB-85C2-3EA5DE6B5FC7-4996-000009ACEF326C1E.jpg


Ha ha cheers.


__________________


Guru

Status: Offline
Posts: 802
Date:
Permalink  
 

like the expanding raw bolt/bearing puller idea biggrin 
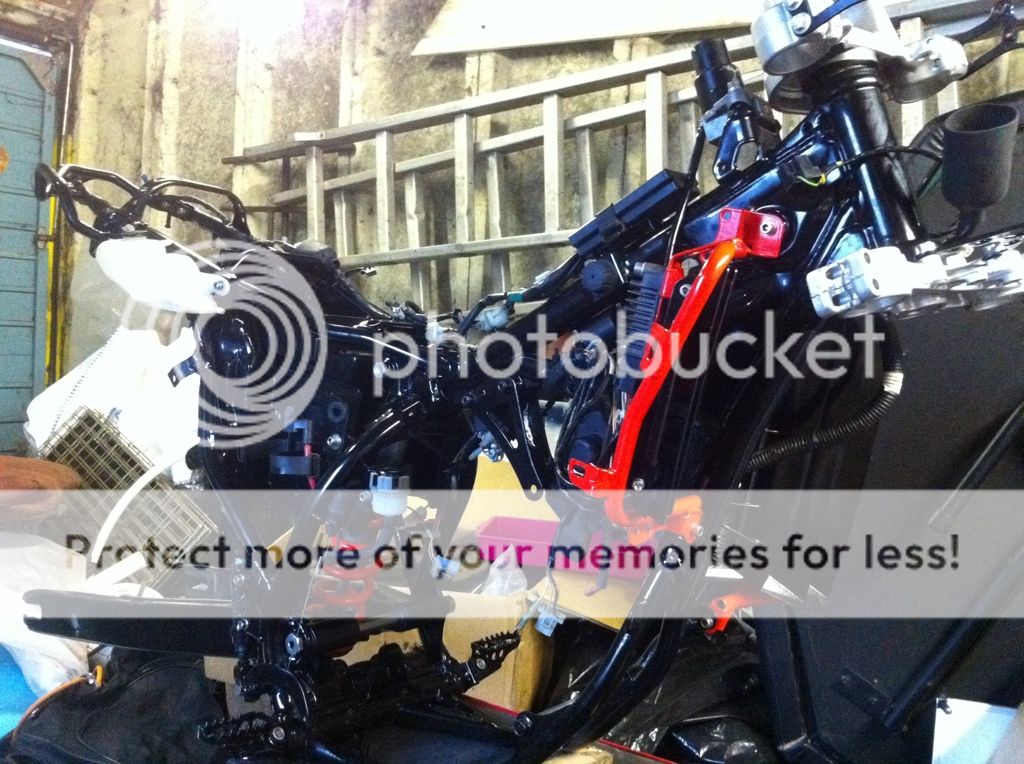
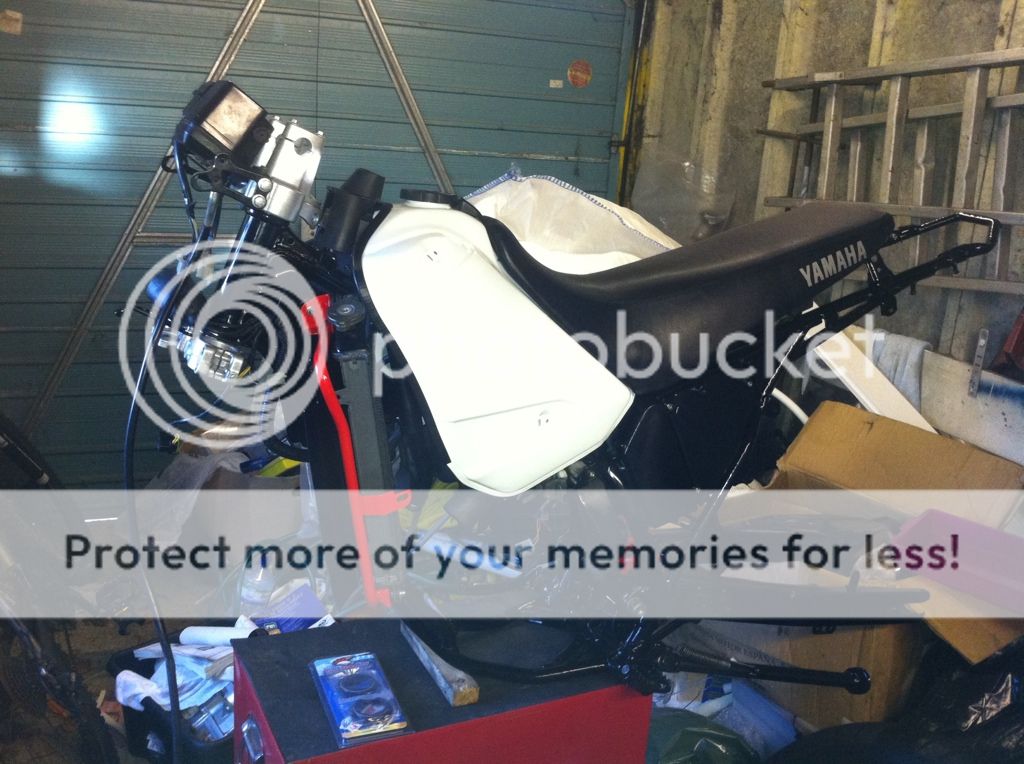
looking nice and fresh,coming along well bud


__________________

money killed everything....


Guru

Status: Offline
Posts: 849
Date:
Permalink  
 

Can't take full credit mate seen it in the wheel bearing section on here! Great idea though.


__________________


Guru

Status: Offline
Posts: 849
Date:
Permalink  
 

Just a few pics of my progress.


47EE9800-5401-4F6F-B904-DF7D906BCBB5-2482-00000349381B69FB.jpg


7610BFA6-FF60-40B1-9725-66ED1DD984A2-2482-0000034945D2EC53.jpg


8BC052FF-AD60-431B-9400-5F377026CF2D-2482-000003494E22BD22.jpg


5FC0BA8D-3127-486A-9D92-D4A67226DBE2-2482-000003495450B3A5.jpg

9CC48D39-8972-4D98-A270-ADDCB6C7D2C6-2482-0000034977A16DF0.jpg


6B7B6798-4A2D-4989-98EC-56AF3F2C7786-2482-0000034981FE15A5.jpg


B1DFD805-76DF-41DA-BC5D-77D67DE16462-2482-0000034988AD60B3.jpg


E6995416-698C-4478-AF5E-ACF5BDCFE535-2482-00000349904C1086.jpg


3F72E6B8-BCE0-4748-B9A5-3876B19CDD44-2482-000003499681A0CD.jpg


3F09F3EB-F079-49DF-9030-95134AB0D2FF-2482-000003499DB5F222.jpg


Wheels are getting balanced tomorrow then the white rim stickers are going on.

4E363103-5A24-4842-A88F-D535967F16DE-2482-000003496DF9F01B.jpg


__________________


DTR Senior Member

Status: Offline
Posts: 262
Date:
Permalink  
 

Really enjoying this build mate! Keep up the great work!! Was only thinking the other night that powder coating my casings black with "Yamaha" in red would look slick.... You already done it (except for yamaha's in white)! Looks mint!! biggrin


__________________

2006 Kawasaki Ninja 650r (er6f) -http://dt125r.activeboard.com/t54040090/few-recent-snaps-of-the-er6/

2002 Yamaha TDR 125 Project - http://dt125r.activeboard.com/t51841846/finished-tdr/ *SOLD*


DTR Senior Member

Status: Offline
Posts: 211
Date:
Permalink  
 

Looks great!

__________________


Guru

Status: Offline
Posts: 849
Date:
Permalink  
 

Just a few pics of my progress.


47EE9800-5401-4F6F-B904-DF7D906BCBB5-2482-00000349381B69FB.jpg


cheers guys. I used the white gloss touch up pen from halfords. Not a job to do after a few pints lol. mines arent perfect but they look ok. it was one of those jobs where practice was key but practise was actually on the job lol. I should think myself lucky though one bad move and you are in a world of pain lol!


7610BFA6-FF60-40B1-9725-66ED1DD984A2-2482-0000034945D2EC53.jpg


8BC052FF-AD60-431B-9400-5F377026CF2D-2482-000003494E22BD22.jpg


5FC0BA8D-3127-486A-9D92-D4A67226DBE2-2482-000003495450B3A5.jpg

9CC48D39-8972-4D98-A270-ADDCB6C7D2C6-2482-0000034977A16DF0.jpg


6B7B6798-4A2D-4989-98EC-56AF3F2C7786-2482-0000034981FE15A5.jpg


B1DFD805-76DF-41DA-BC5D-77D67DE16462-2482-0000034988AD60B3.jpg


E6995416-698C-4478-AF5E-ACF5BDCFE535-2482-00000349904C1086.jpg


3F72E6B8-BCE0-4748-B9A5-3876B19CDD44-2482-000003499681A0CD.jpg


3F09F3EB-F079-49DF-9030-95134AB0D2FF-2482-000003499DB5F222.jpg


4E363103-5A24-4842-A88F-D535967F16DE-2482-000003496DF9F01B.jpg


__________________


Guru

Status: Offline
Posts: 849
Date:
Permalink  
 

cheers guys. I used the white gloss touch up pen from halfords. Not a job to do after a few pints lol. mines arent perfect but they look ok. it was one of those jobs where practice was key but practise was actually on the job lol. I should think myself lucky though one bad move and you are in a world of pain lol!

__________________


DTR Senior Member

Status: Offline
Posts: 118
Date:
Permalink  
 

Alright bud, I have a spare black tank for your bike that just failed to sell on eBay. Can't be bothered relisting it and need space so it's yours if you want one as spare. Don't worry if you don't need it, I'll hold on to it.

__________________
«First  <  1 2 3 4 5 611  >  Last»  | Page of 11  sorted by
 
Quick Reply

Please log in to post quick replies.

Tweet this page Post to Digg Post to Del.icio.us


Create your own FREE Forum
Report Abuse
Powered by ActiveBoard